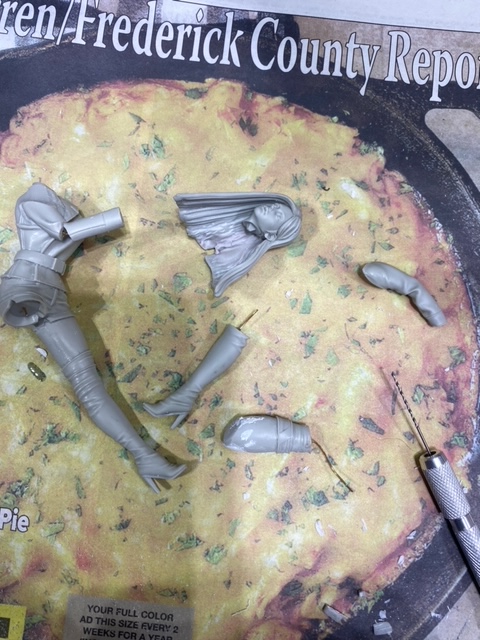
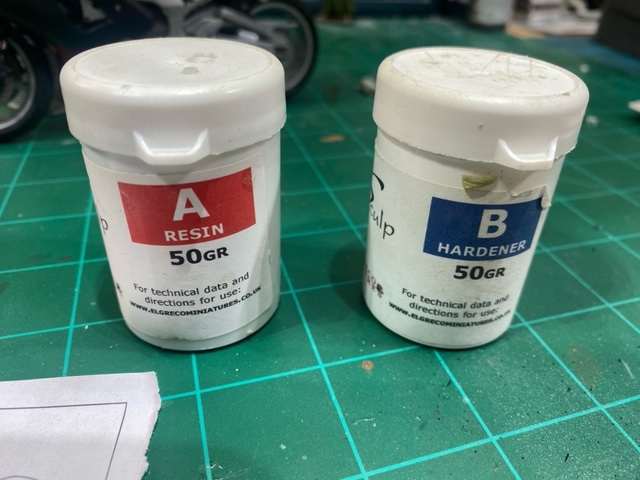
Okay gents. The bike is done and I have moved on to the chick assassin. As you can see from the photo of her she has to undergo some major surgery to move her arms/legs to the required positioning. The miracle of Magic Sculp comes into play to put this girl back together.
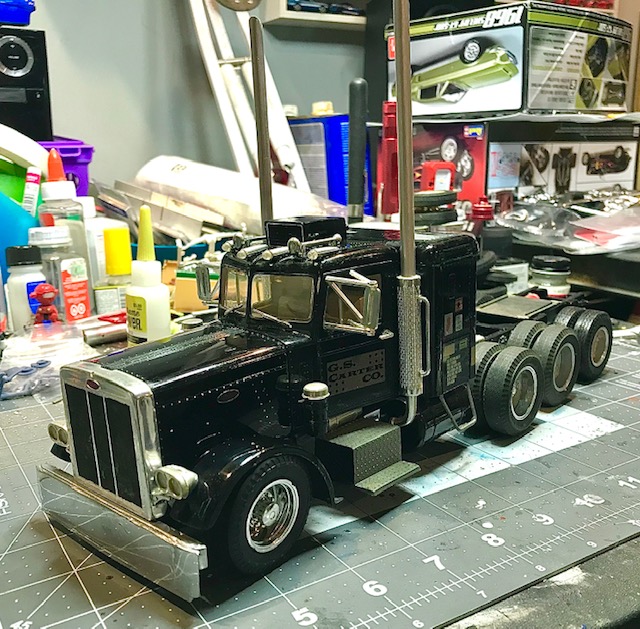
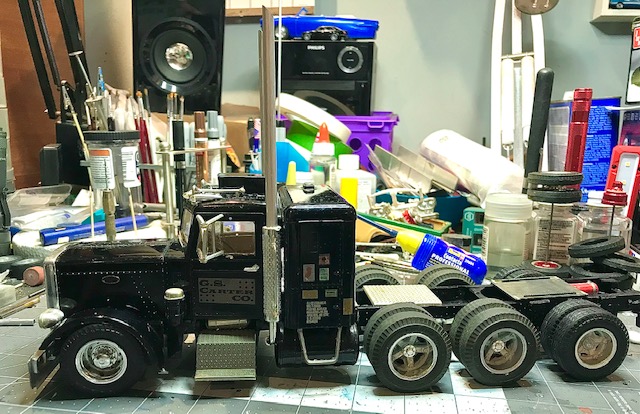
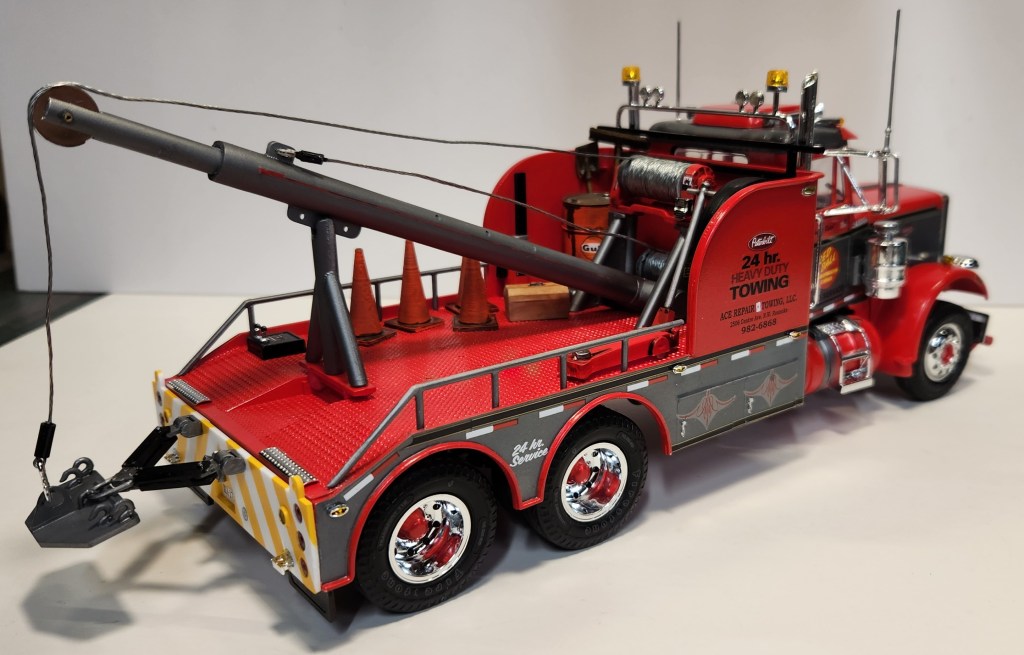
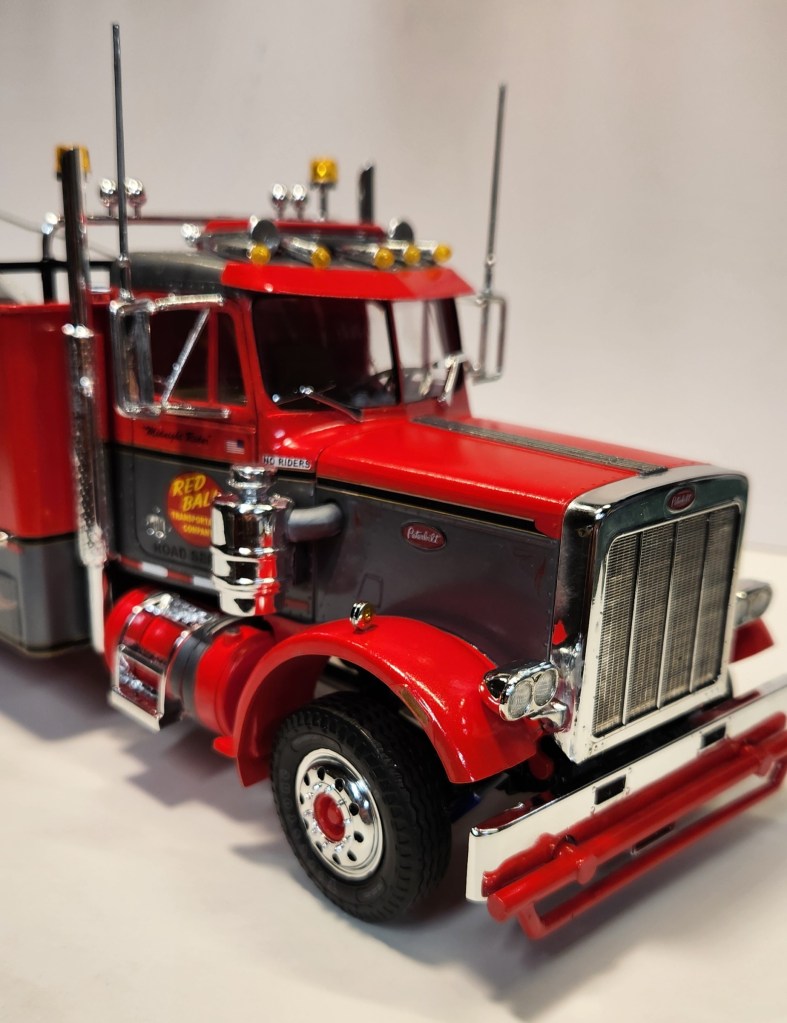
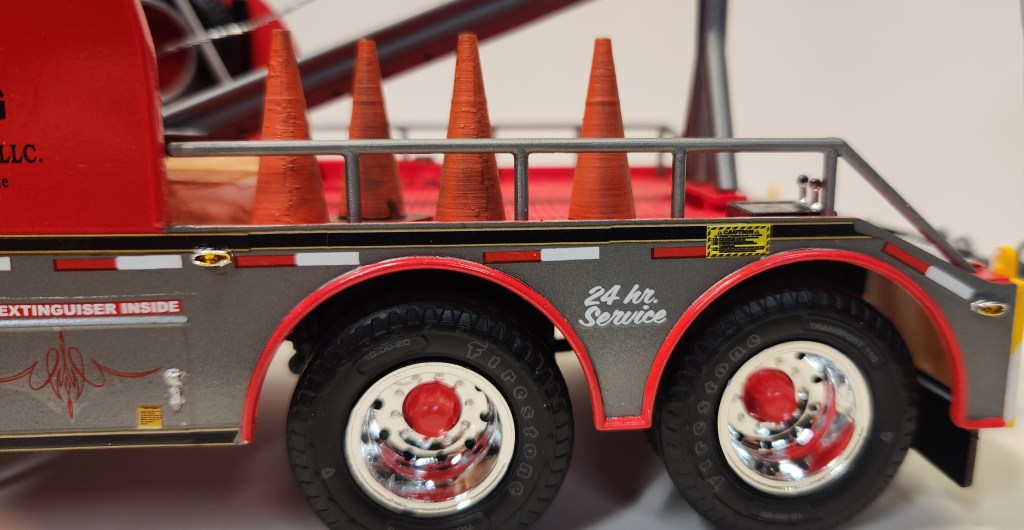
All you truck modelers with sensitive stomachs may want to avert your eyes for this one. This is a vintage AMT Peterbilt conventional built by my father when I was a wee lad. He conveyed it to me recently as part of a group of old decrepit built up kits. This one has been restored/ modified in the low rider style and turned into a tri-axle. The parts for the conversion came from an unsalvageable Autocar tractor. The front bumper, exhaust stacks, and bogey wheels are all scratch built. The paint is original, brought back to life by elbow grease and carnuba wax.
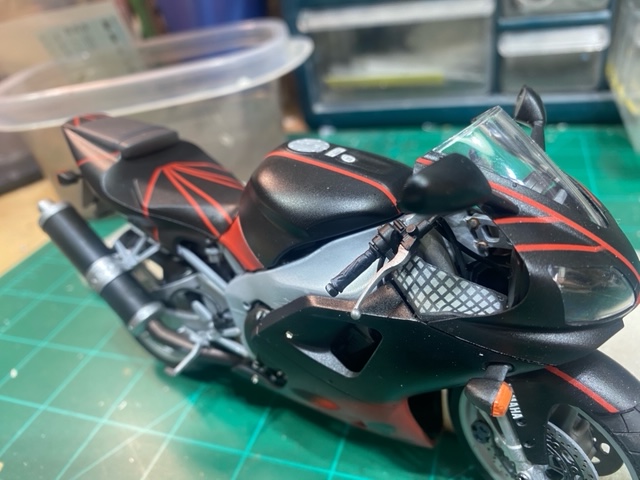
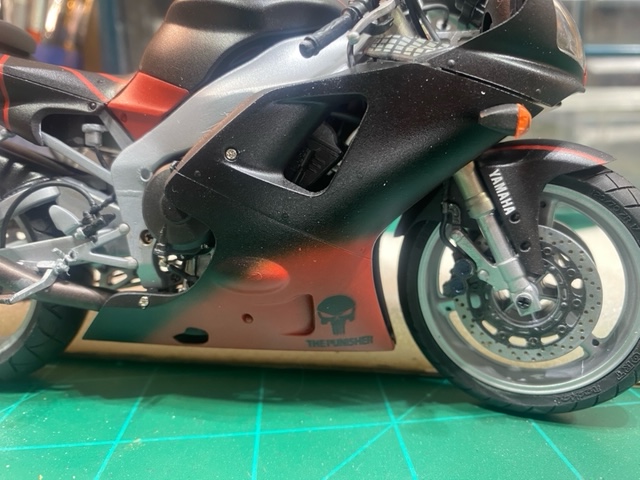
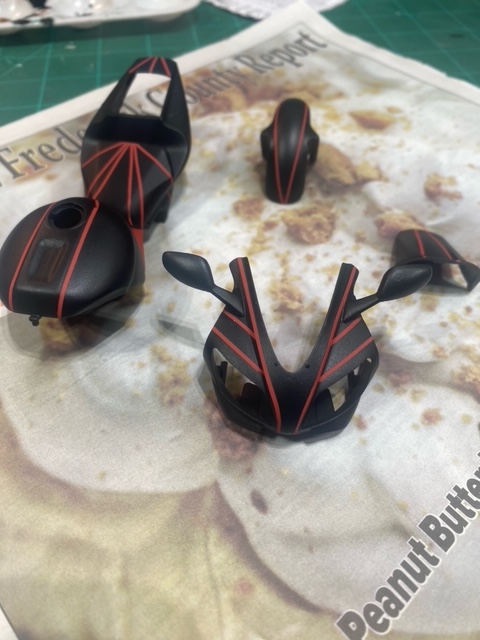
Gents; the assassin bike got its paint design set in. Thanks to those who had ideas on paint schemes. I wanted the bike to be “dark and mysterious” for its anti-hero lady killer rider. The black will go with her outfit and the red represents the “kills” she is hired to do. Of course she only accepts contracts on bad guys.
I will let this dry for 2-3 days then give several coats of a clear varnish. Once that is done I will mount the body panels and fenders. While the paint rests and dries I will work to finish the front tire assembly so I can get to my killer babe!!
This kit is less than stellar as parts were warped and there are fitting problems.
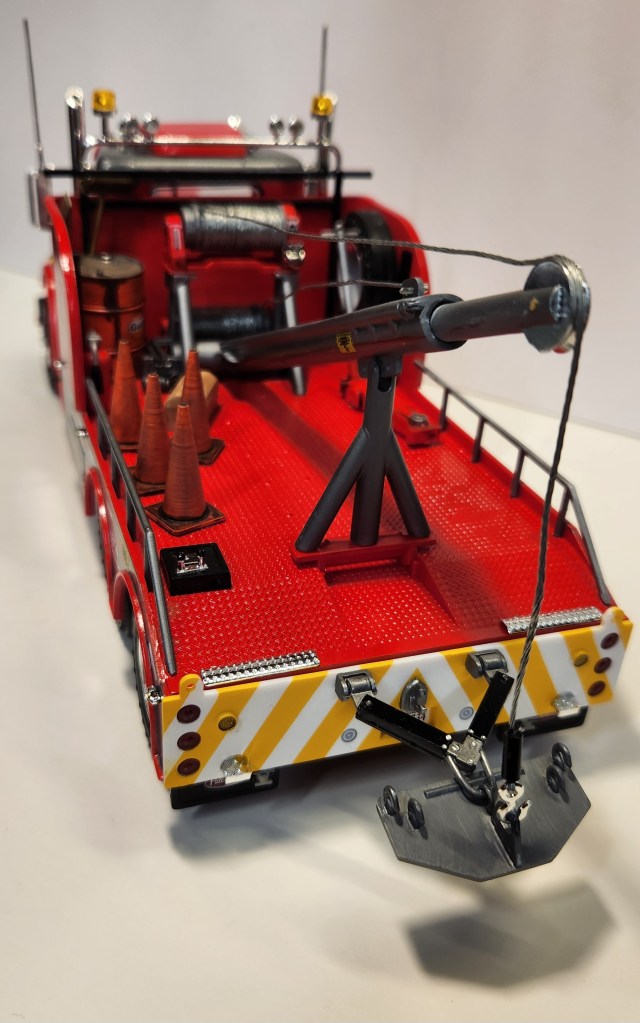
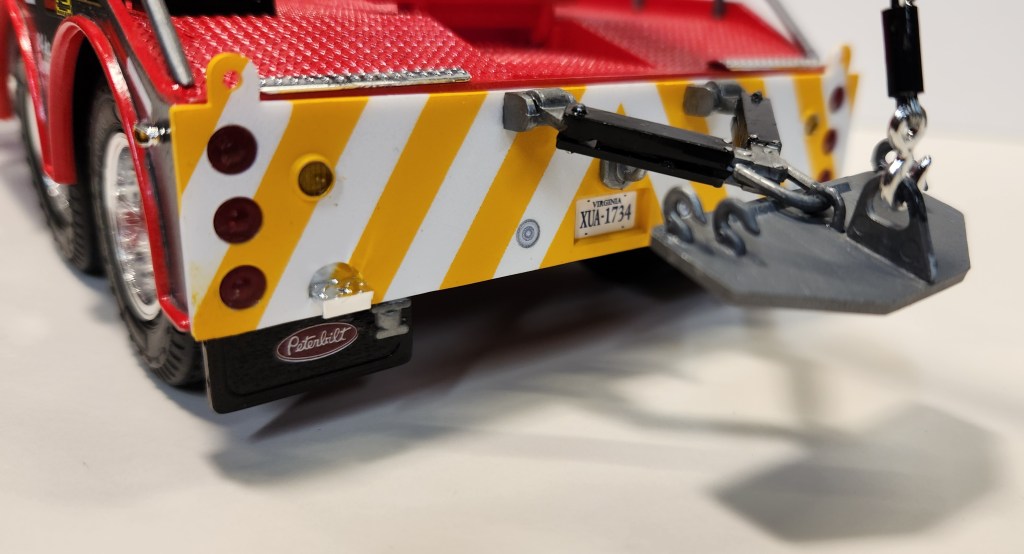
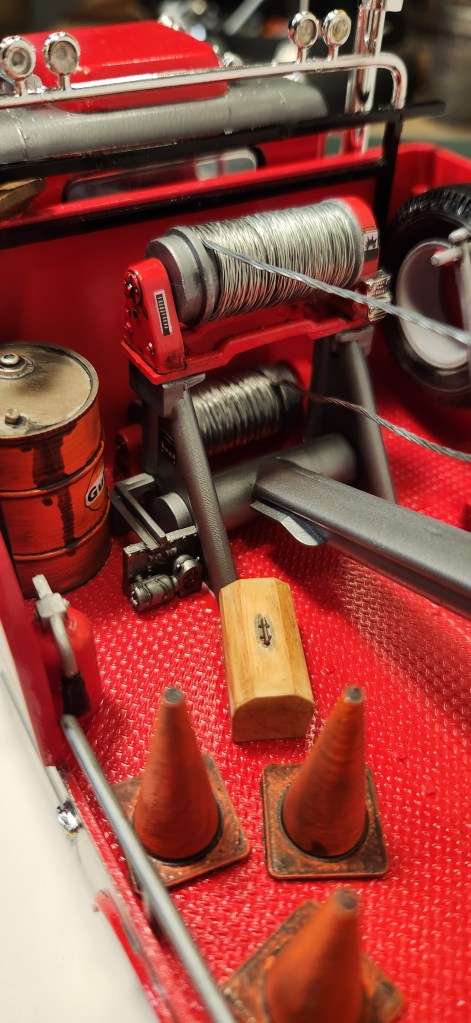
The model is pretty much box stock with the exception of the use of framing wire for the tow cable. The accessories on the bed were added for a touch of realism. They are not glued in place.
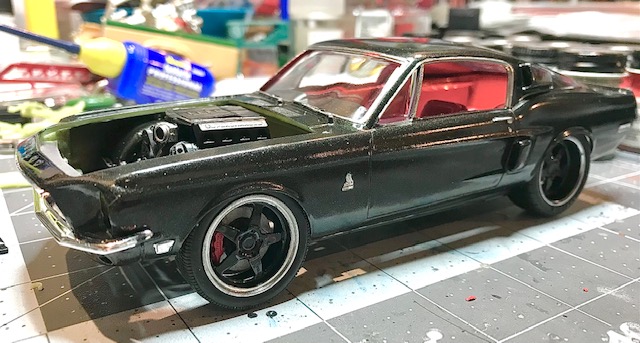
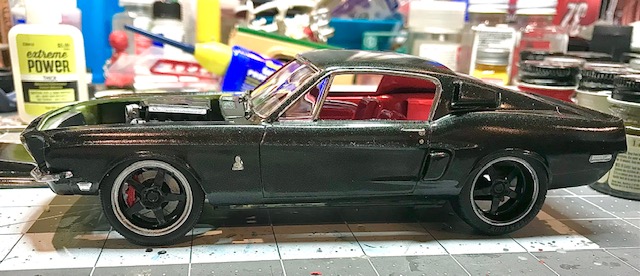
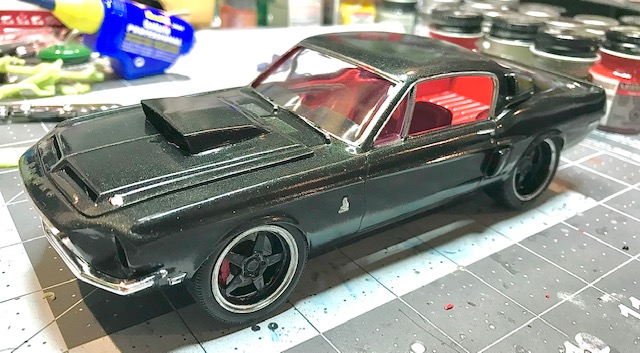
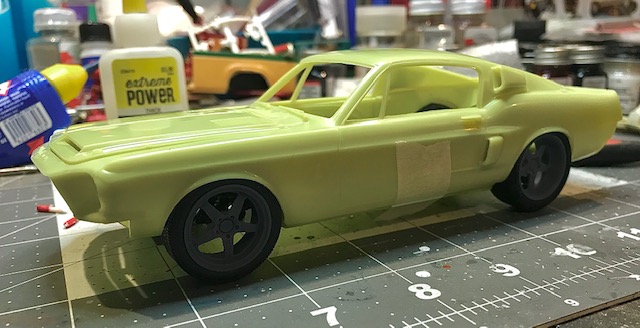
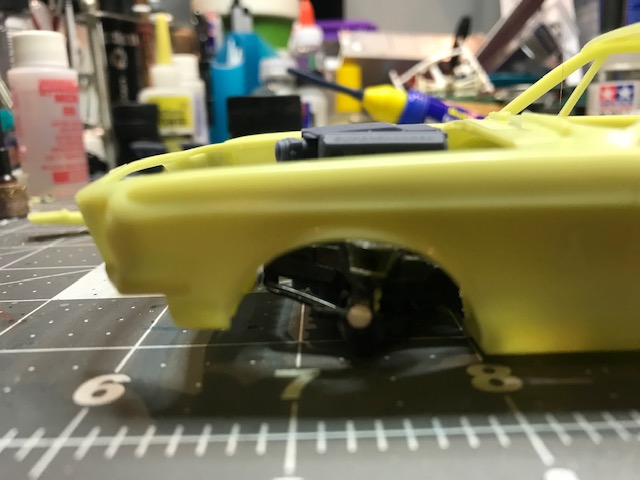
Progress is being made on the Shelby. Paint came out fantastic. Base coat is flat black, followed by Testors Blazing Black lacquer. Interior is three shades of red. I ended up removing a fair bit of the front crossmember to lower the engine enough for the hood to clear. Even with all that I still needed a 60s Mopar “mailbox” hood scoop.
The aforementioned mail box, which required the Shelby hood louvers be filled and sanded to shape. The exhaust also needed custom work in the form of a NASCAR style x pipe with drag dumps. The rear section under the rear axle is made of solder. These pipes will exit through a custom rear valence adapted from a Dodge Sidewinder.
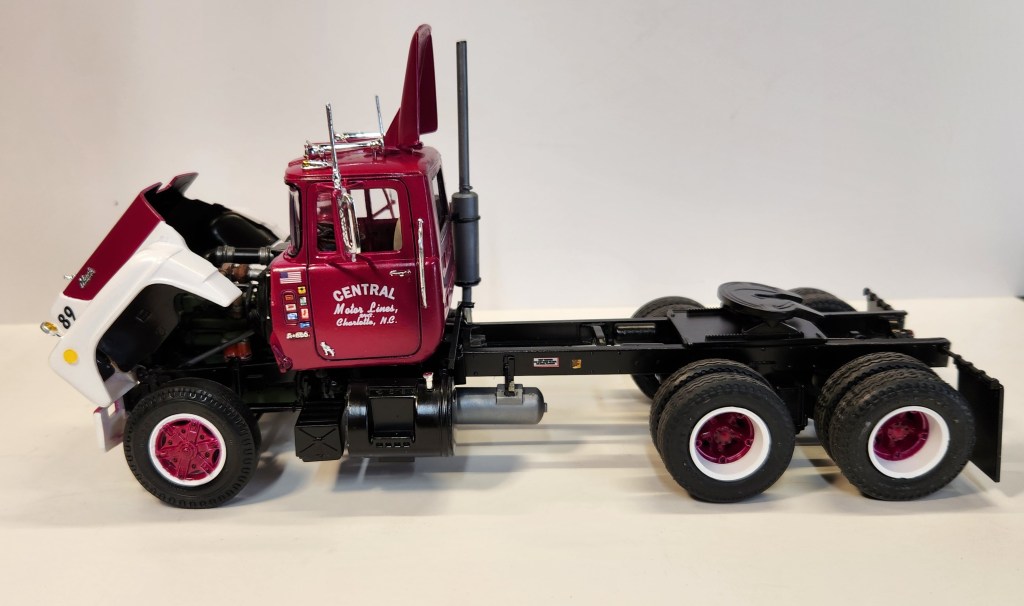
As a builder I am always looking for techniques to help improve my model builds. My latest build is a 1/25 AMT Mack “R” model.
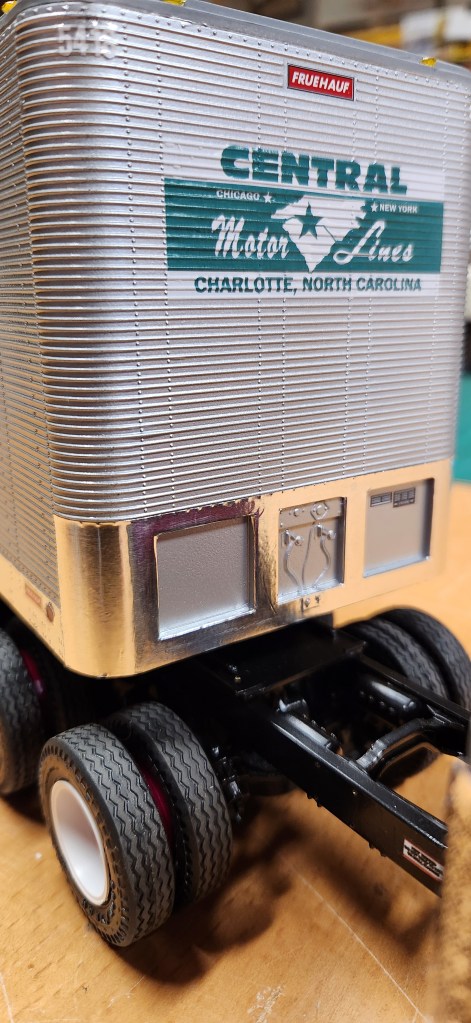
Upon completion of the cab I knew it needed a trailer. I built the basic AMT Fruehauf 40 ft dry trailer. I wanted to go farther than a basic silver sided trailer. I used thin metallic AC tape to the lower part of the trailer sides and bulkhead. I used old school fleet decals “Central Motor Lines” from Modeltruckin.com
The addition of 3D printed 2 hole Bud wheels really set the old school look.
If I told you guys I set aside the 1/144 stuff to build a 1/48 kit you’d probably think I had finally come to my senses….but just because the scale is bigger doesn’t mean the model is! The wife and I were at the Strasburg flea market after the meeting Saturday and I stumbled across this absolutely adorable kit. Id like to introduce you to the latest addition to my workbench, the Lotus Ford by Renwal:
The kit appears to be based on the Lotus 25 from the early 60s, but I’m not an F1 expert by any means. I think it has a lot of potential, but the way it assembles (and its small size) is going to make painting pretty complicated I’m afraid.
I started by removing all the chrome plating by using Draino. I then started dry fitting parts and noticed you’re supposed to put the suspension parts on before closing the body. However, this means I’ll have to mask off all the fragile exterior parts to sand and paint the body. That sort of stalled me a bit and made me take a step back.
I think, despite the instructions, I’m going to try to finish the body first, then attach the suspension last. I don’t know how well it will work because of the angles involved and how the pieces attach inside, but I think it’s my only chance at having a nice finish on the body.
I’ll be sure to bring it to the next meeting so you car guys can mock my sure-to-be lackluster paint job.
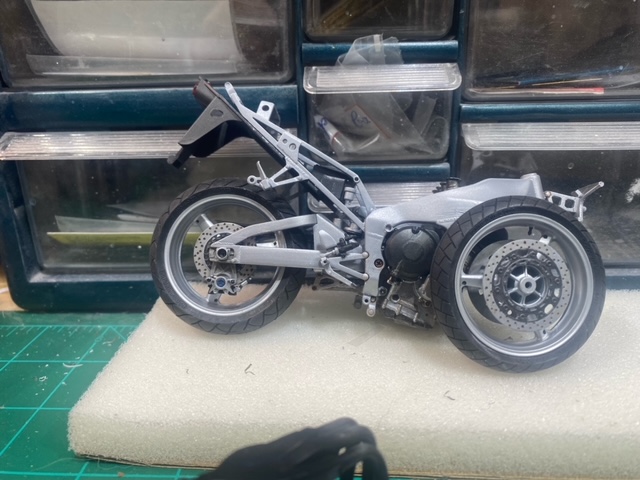
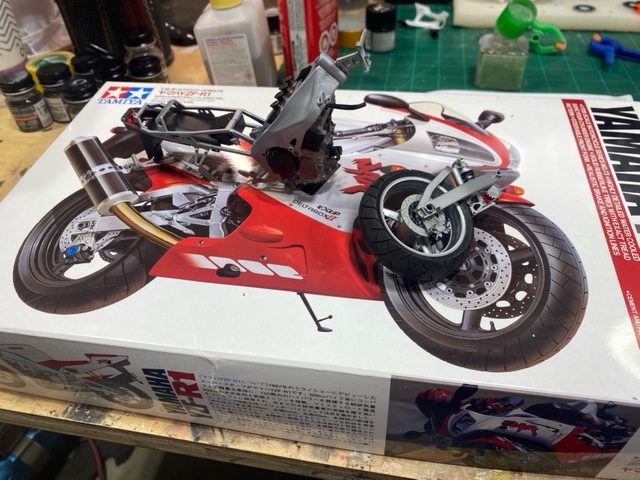
Hey gents here is my first progress report on the female assassin vignette that occupies the work bench. The frame and engine is done and the rear wheel assembly is 70% complete. It will be a 1/12 Yamaha YZF-R1 bike. I have no idea what that is but I thought it was a cool enough bike for my killer babe that will go with it. I feel like I can Ross a run for his money now! ….well maybe not
I will do a custom paint scheme for the bike with the theme of having an assassin rider. I ordered a spider decal for the area in front of the seat and will come up with some scheme to go with the spider.
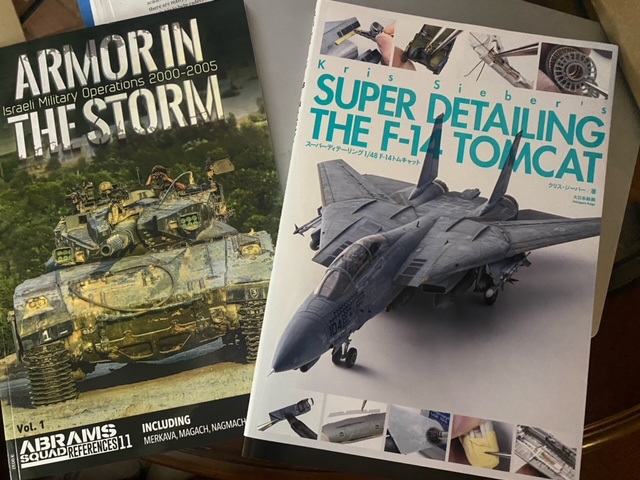
Hey Gents. I got these two reference books in the mail. The F-14 book is amazing. The book on Israeli armor is chock full of very good photographs which I will need for my upcoming Merkava Mk IV tank. If anyone would like to borrow one or both let me know. Tomcats forever!
My latest project, a 68 Shelby GT500 pro-touring. The wheels are 20×8 in the front, 20×10 in the rear which required a complete re-imagining of the suspension. This took the form of a 66 Olds Cutlass front and rear independent suspension swap. With the rolling stock handled, we move to the power train…
The engine is a Ford Coyote V8 with Edelbrock supercharger and Tremec 6060 trans. I am currently addressing the issue of the Mustang being too small to house this engine LOL
And speaking of not enough room. It turns out 10inch wide rear wheels require some sacrifices in interior space. I scratchbuilt the interior panels to clear the tires that gobbled up a third of the rear seat. Don’t get me started on how much room that giant transmission is taking out of the interior.