Scott has a photography exhibition coming up in November. If anyone is interested in checking it out, please see the images below for more information:


Scott has a photography exhibition coming up in November. If anyone is interested in checking it out, please see the images below for more information:
It’s finally done. This is a project most of you probably had no idea I was working on and its way outside what i normally build. It took almost 2 years for me to reach the finish line but I finally made it. I wish I could bring it to a meeting to show it off but it’s already in a display case in my boss’ museum (it’s also far too fragile to transport).
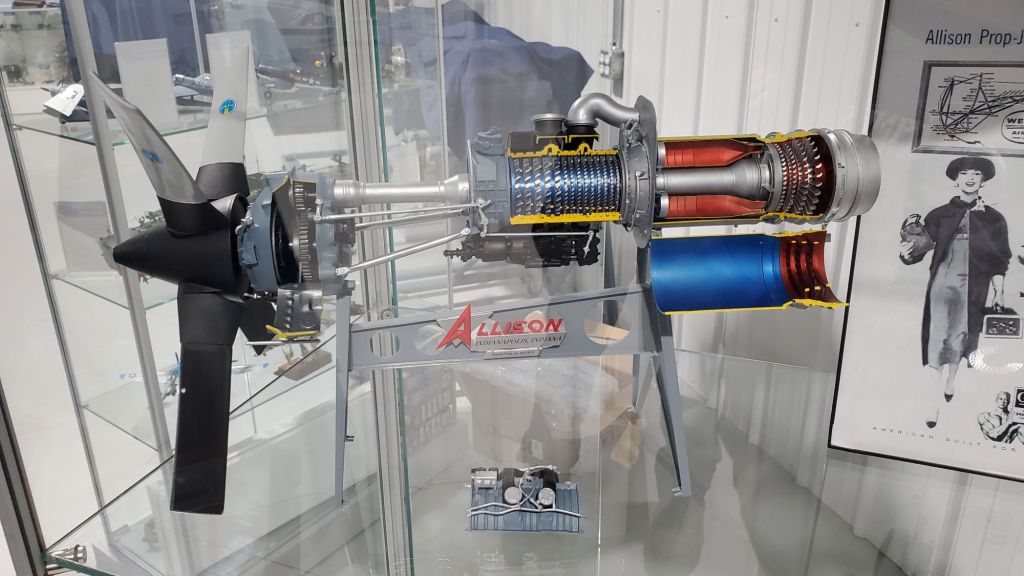
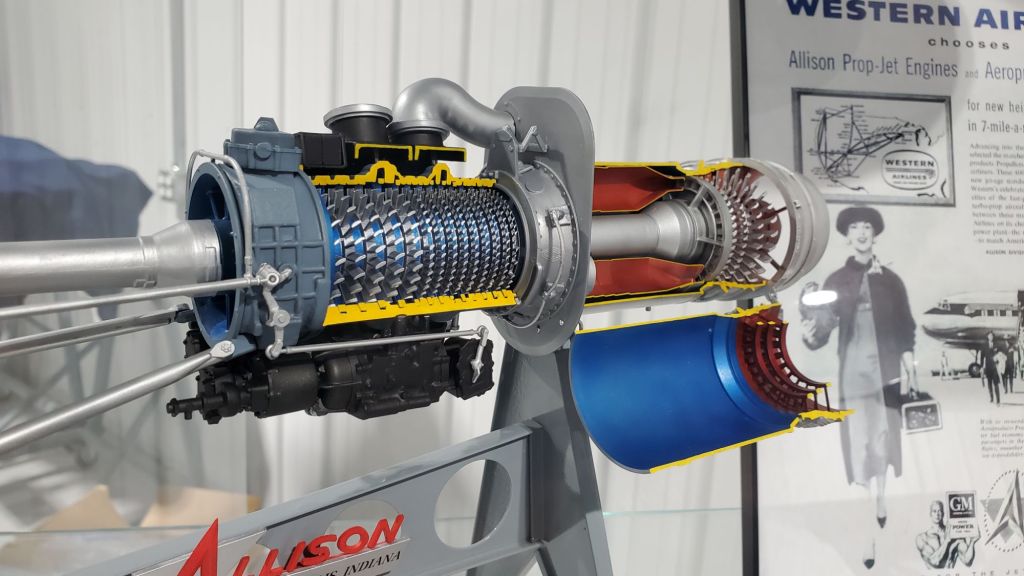
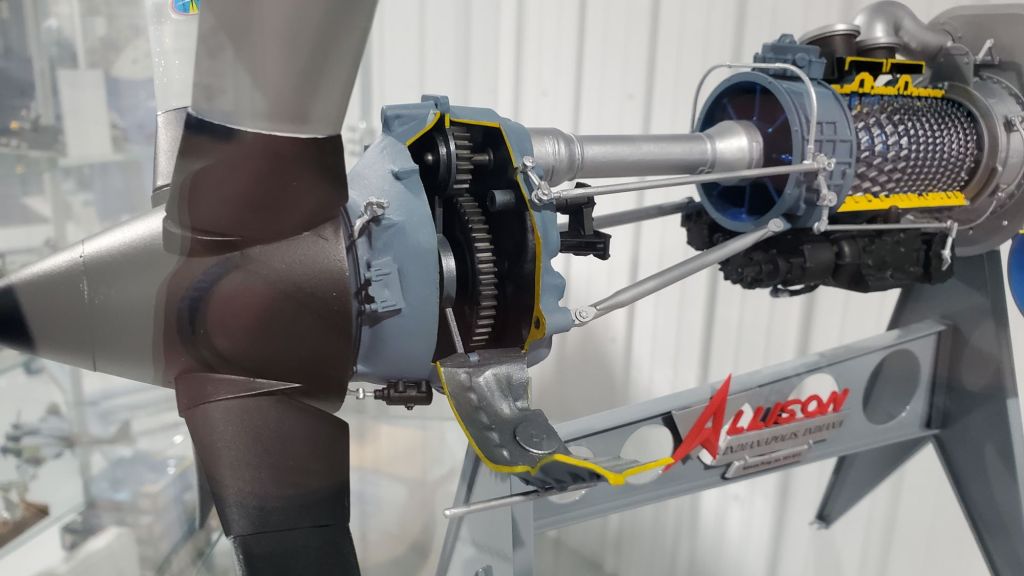

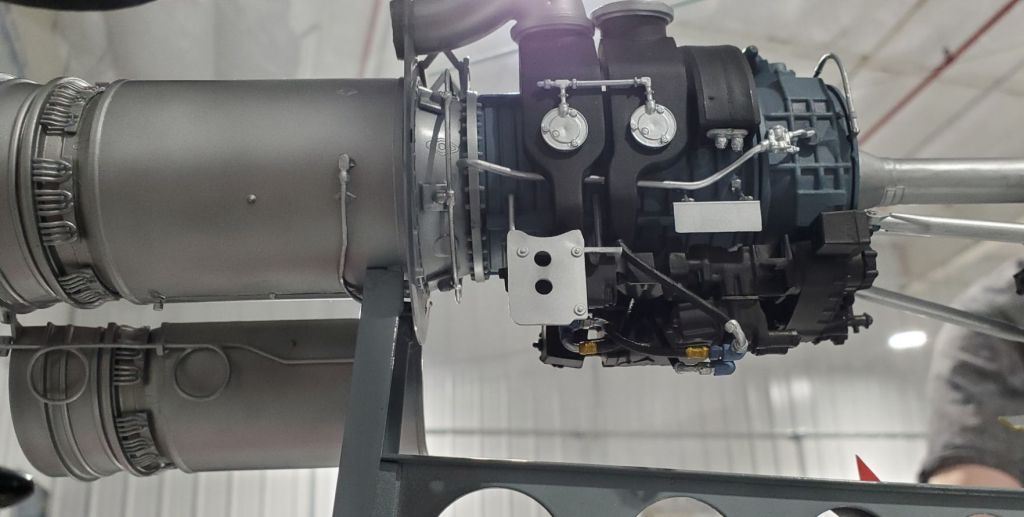


This was a commission build for my boss. He provided the kit and asked that I build it to look like the cutaway engines we build in the shop, so I used the same paints we used and marked things the way we would. Its designed to turn if you build it unpainted, but in its current state it does not. Regardless, he seems very happy with it, despite how long I took.
This build required every skill I’ve developed while modeling. Filling, Sanding, masking, airbrushing, brush painting, 3D printing, and scratch building. I used model cements, super glue, and even epoxy. I used Alclad paints, Vallejo acrylics, industrial lacquer, rattle cans, and I even decanted some other rattle cans to use the paint in my airbrush. I did a ton of research, both online and in person.
I put in way more effort than I probably should have but in the end I’m very pleased with it. I consider this to be one of my best builds to date, but it’ll probably never see a show because of how large and fragile it is.
I liked the kit so much I ended up buying one for myself abouta year ago. Unfortunately, after how much work this was I doubt I’ll ever build it. I need to go back to my ant-scale planes for a while….
-Chad
P.S. Here’s a couple examples of cutaways that we make:


Also, I probably won’t be at the meeting on Saturday. I’m swamped with other projects and family stuff. Things should slow down for me before the NEXT meeting.
I just returned from Armorcon. Had a good time there. They had record show with 343 entries. The most in their 25 years of doing this show. I won 2 silver, and three gold.
Here are the Silver winners:
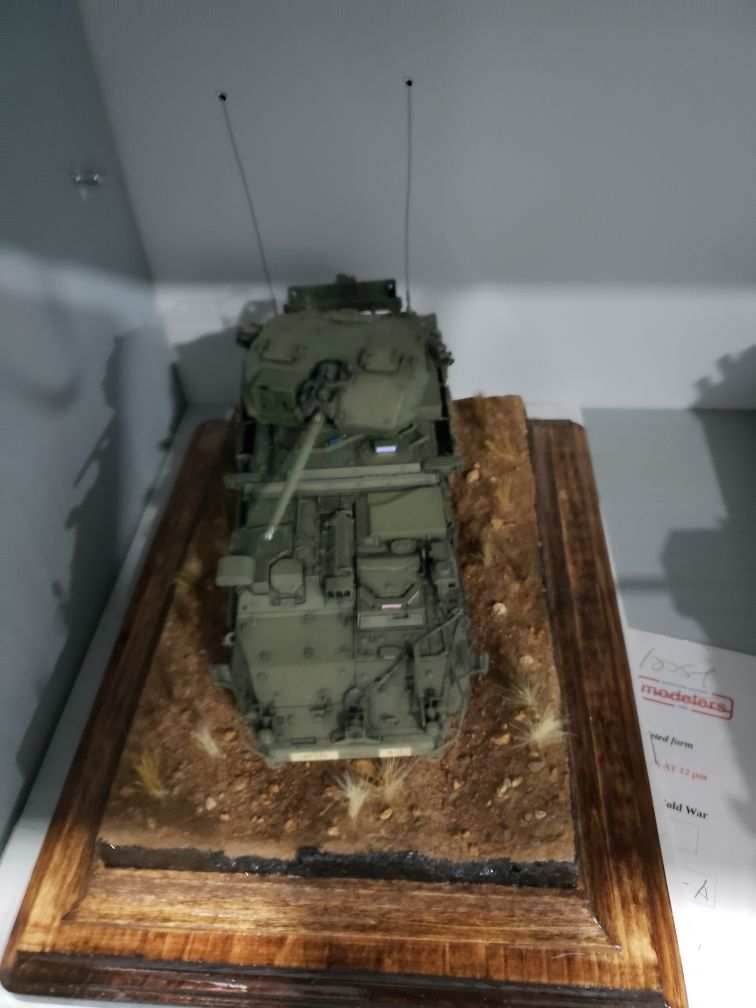
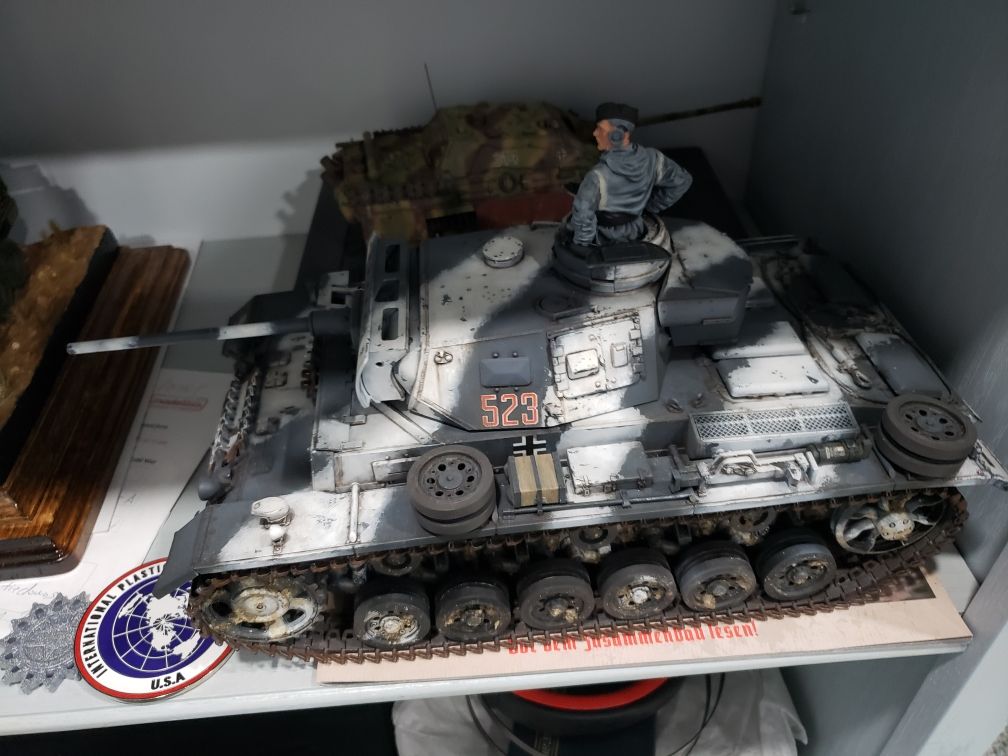
Here are the Gold winners:
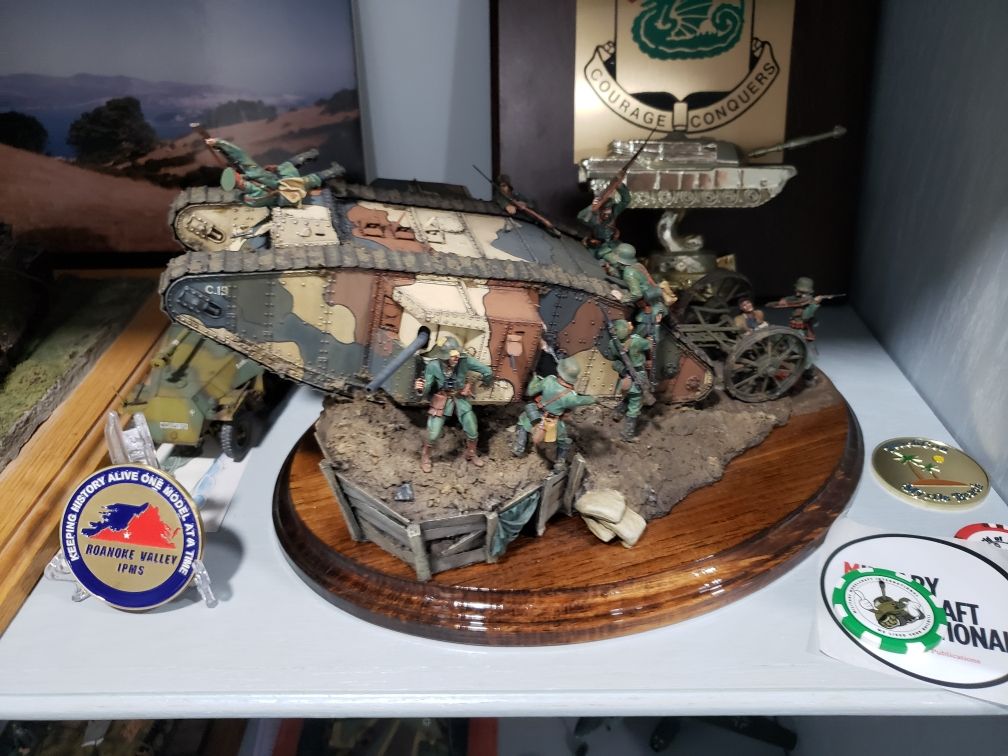
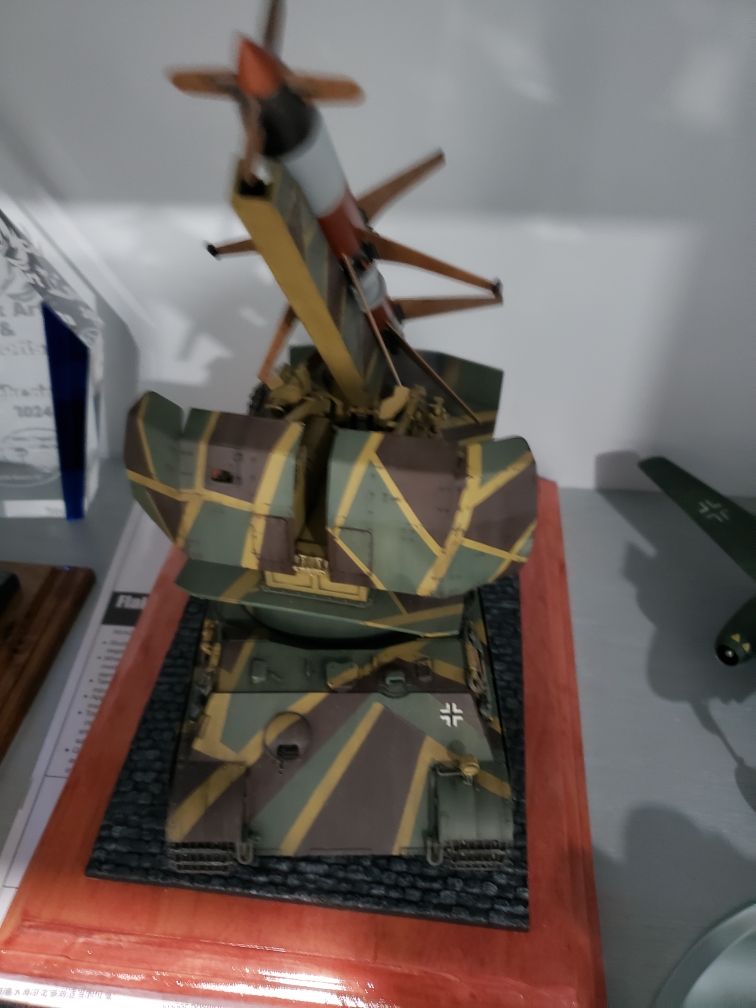
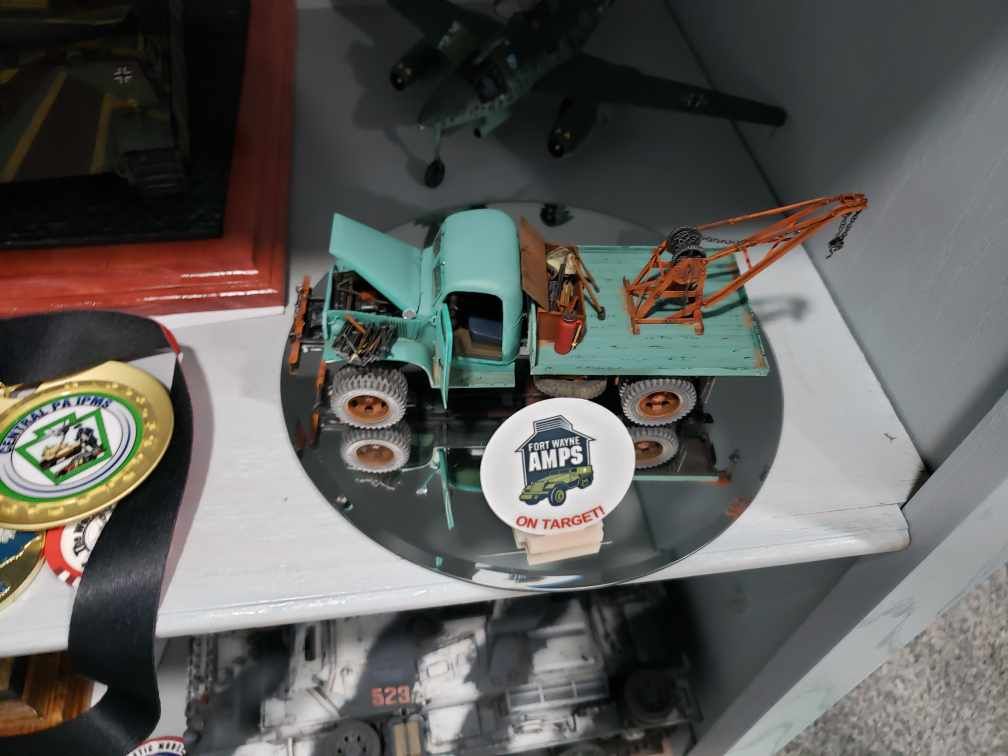
This is the bling:
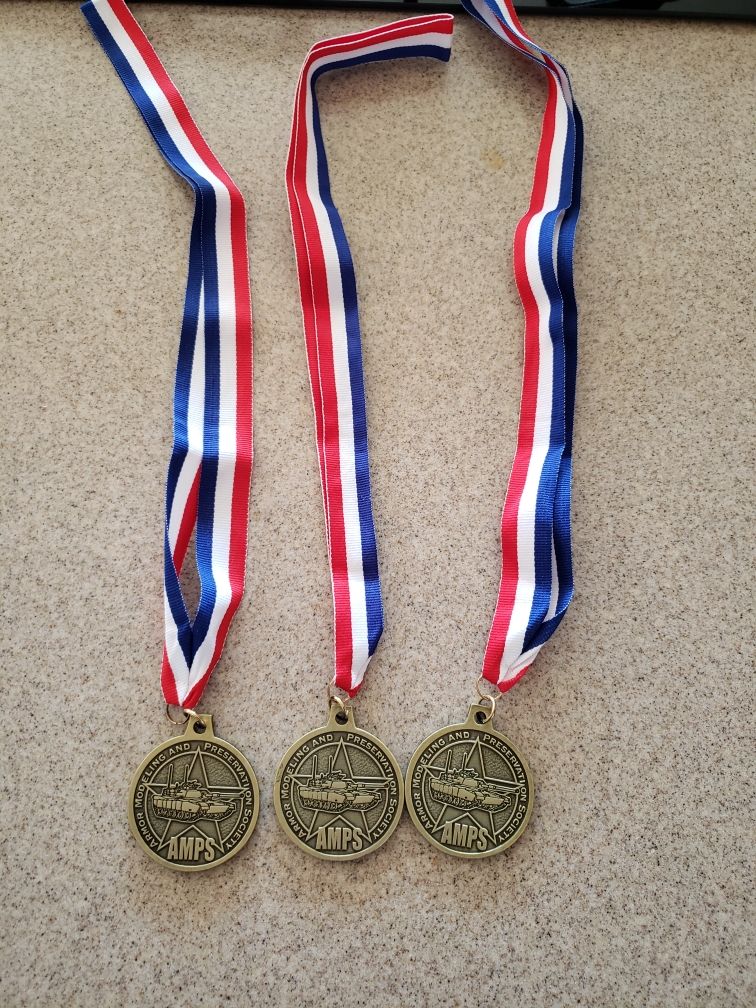
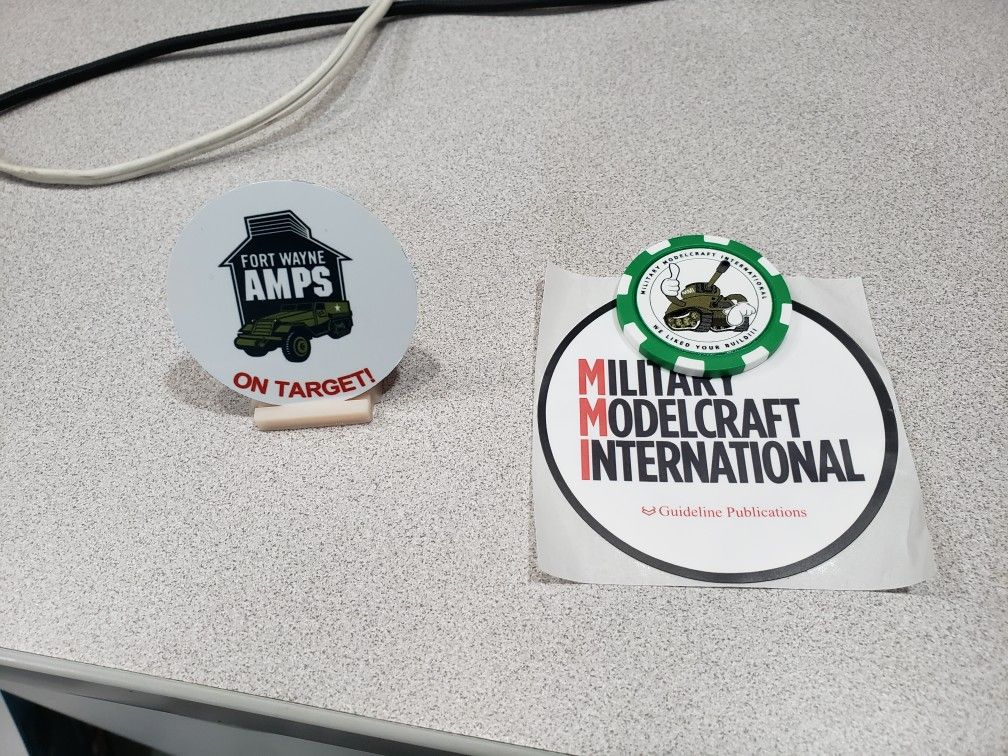
The way AMPS works is if you win with kits in the same category, you only get one award. They award you with the higher award. That is why you only see 3 gold medallions. I also got some of the tokens that are becoming more and more popular.
-Randy
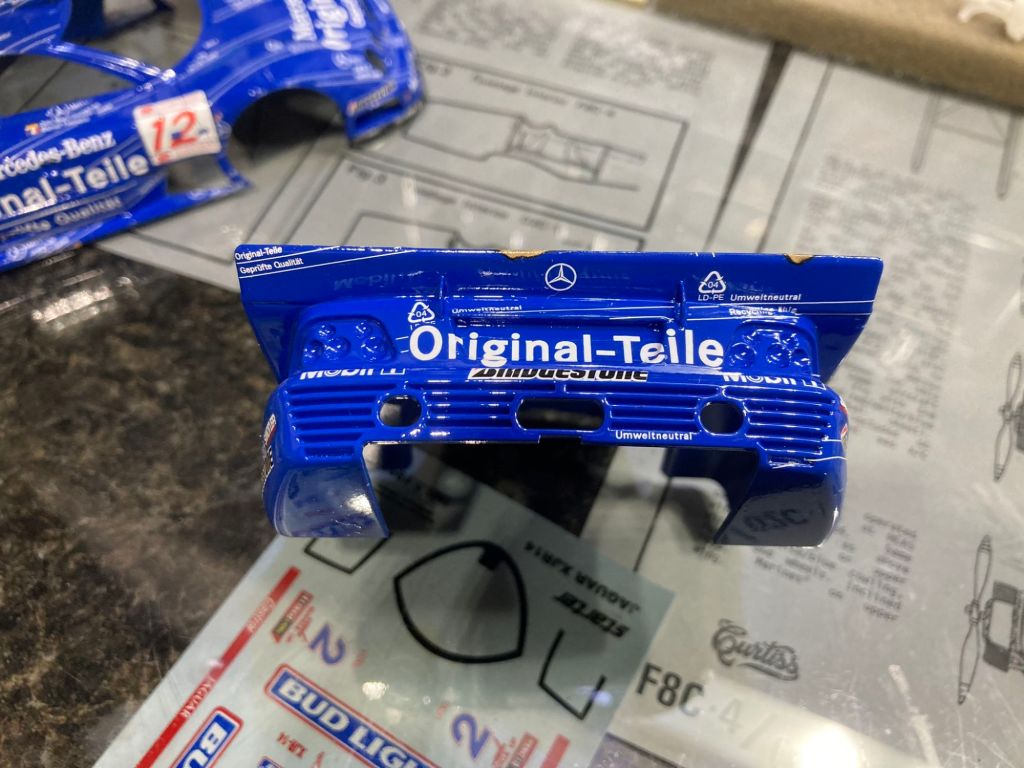
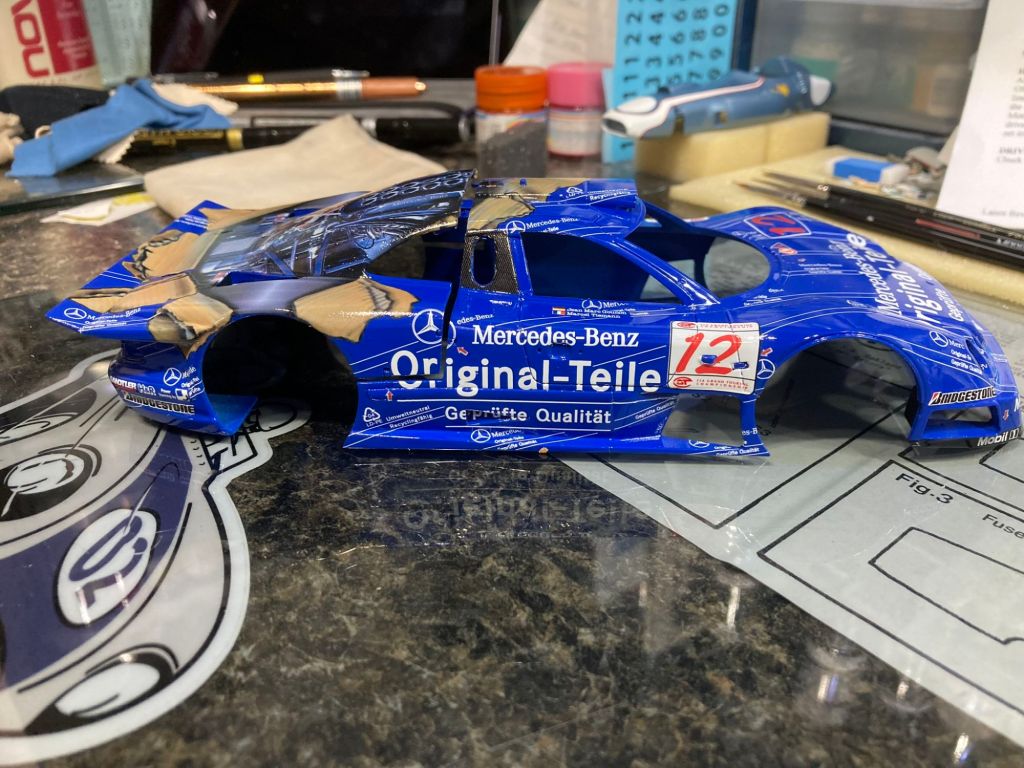
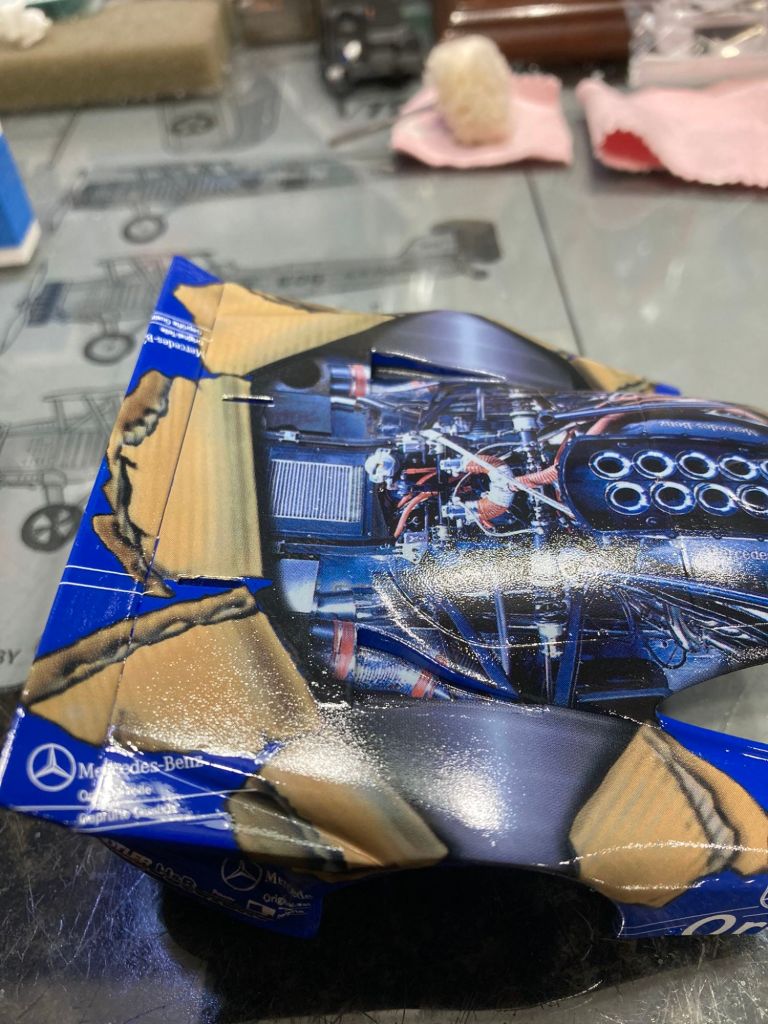
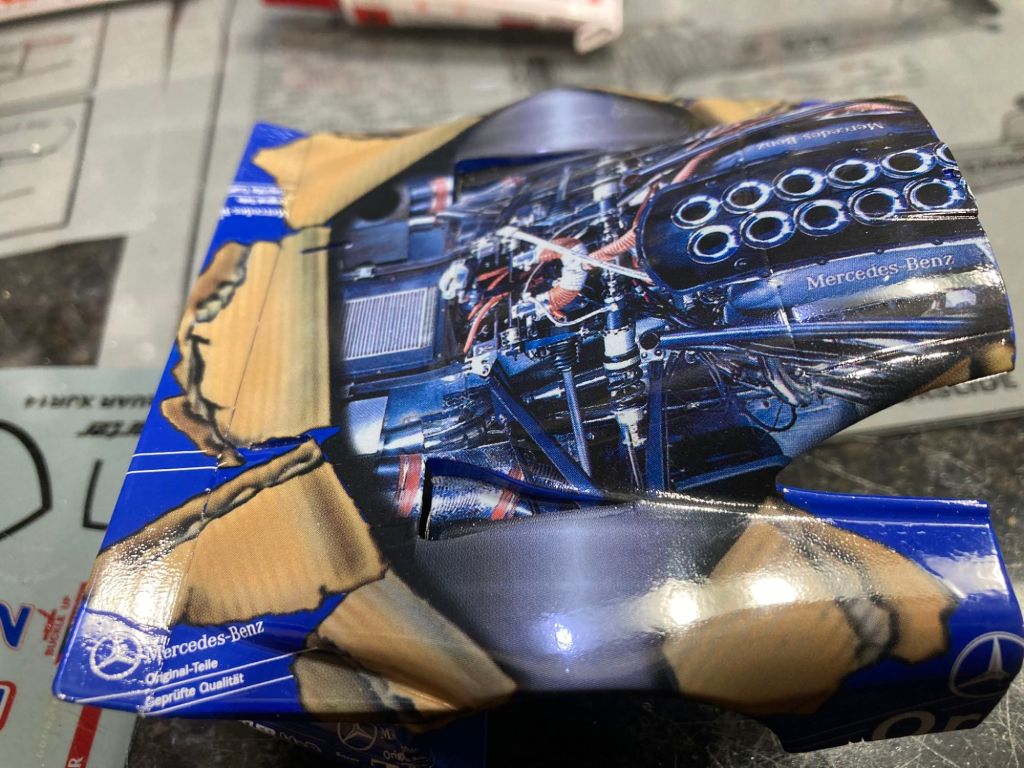
Finally something to report. I have applied around 80 decals to the body. A few were layered, not many. Tamiya Decals from the late 1990’s are very thick but laid down nicely with MicroSet & MicroSol and some Heat from a Hairdryer. It took about 3 weeks working about 2 hours per evening. I then left them dry for around 10 days. I was very fearful of any clear coat causing bubbling or attacking them. Any moisture trapped underneath can cause bubbling of the decals. My favorite Go To Clear is Mr Color GX100 clear thinned about 80% with Mr Leveling Thinner. I sprayed the rear bumper first to see if there world be any adverse reactions. Seeing none, I went ahead and put on a light, misting coat. Four coats later I was satisfied with the coverage and not seeing any Orange peel.
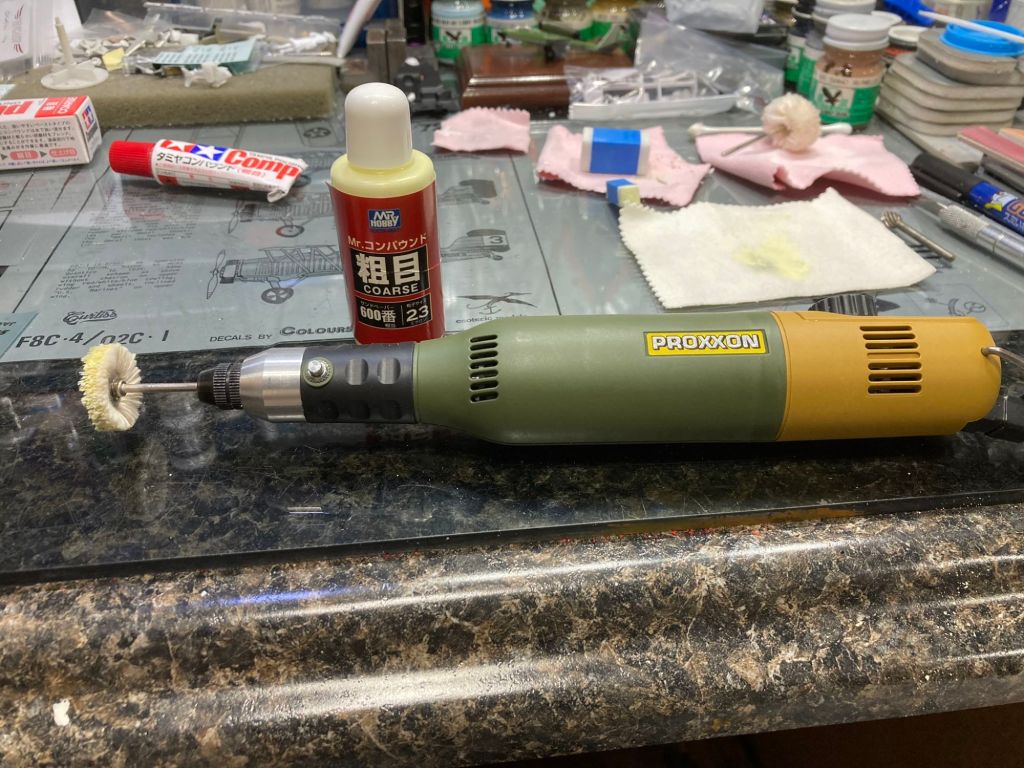
After letting it out gas for 2 weeks, I looked to polish the finish before moving on to adding the glass and chrome. Examining the Rear Body, I saw what looked like fine pebbling. Running my fingers over it, it was smooth. It looked like I used a Flat clear coat, yet the Front section was very Glossy. So, I started with Tamiya Course polish. Didn’t touch it. Then I used my Proxxon with a buffing wheel with the Tamiya Course polish. Still no effect. Just a shinny pebble finish. Before resorting to Hand polishing, I tried the Mr Polishing Course paste applied with a sponge applicator and buffed with the Proxxon. That did the trick. Took around 3 hours to buff the body. The results were amazing. I took my time and went very slowly as it is very easy to chip or damage the decals and/or paint. Once I get the glass and chrome attached, I will buff the body with Mr Polishing Fine and Extra Fine to get that Glass like finish.
Next up is polishing and installing the glass and adding the Fuel Filler. The interior needs to be painted black. Once that is accomplished, I will glue on the front part of the body and add the last little details. Maybe Late October or early November completion date.
Mark Tutton


Gents. Hope all is well. I am working on Randy’s punishment to me of the 1/35 CH-54 Tarhee helo along with 2 figures-each with a dragon! I visited Frontline [Sept 19th] on my way to VMI. Good news for us-he is giving our club a increased discount on in-store and online orders! Woohoo. Email for for the code if you like.
Cheers,
-Chris
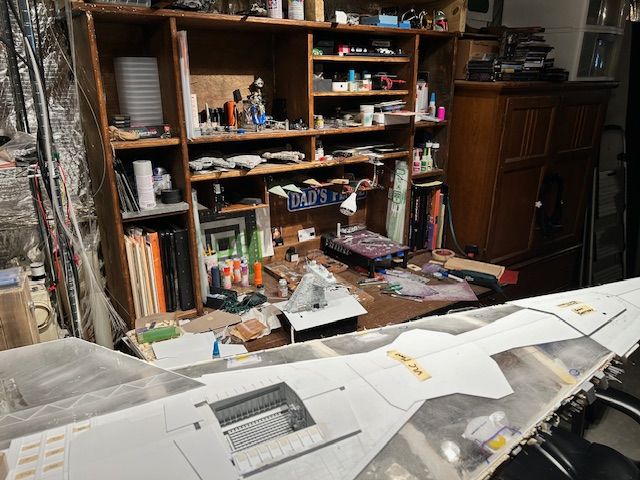
Gents; here are a couple of photographs of my workspace. It looks busy right? I am working on star destroyer as you can see. The work on these models takes an immense devotion of time – as in two to three years! I am hoping to have it ready for display/show in 2026. This is zen monastery building at its best!
– Todd

Hey gents,
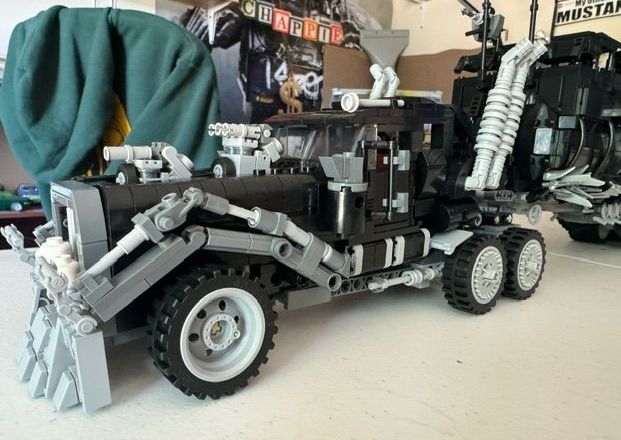
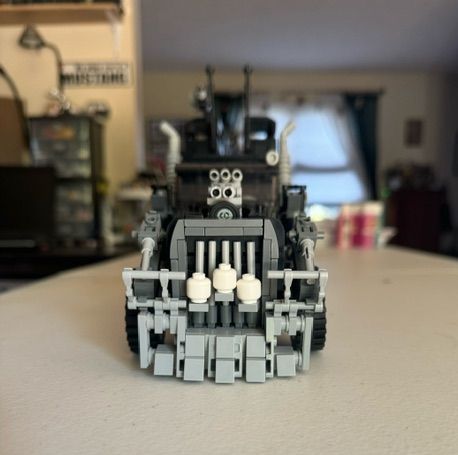
Y’all got some catching up to do!! “Build” 36 done. Just playing. Now this isn’t a typical build. It’s fake Legos. It’s the War Rig from Mad Max Fury Road. 3300 pieces, 25 hours and a lot of swearing. Because it’s not Legos, the pieces are randomly packaged. Took 3 hours just to separate everything. Anyway, model on folks!!
Jeff


Hey gents
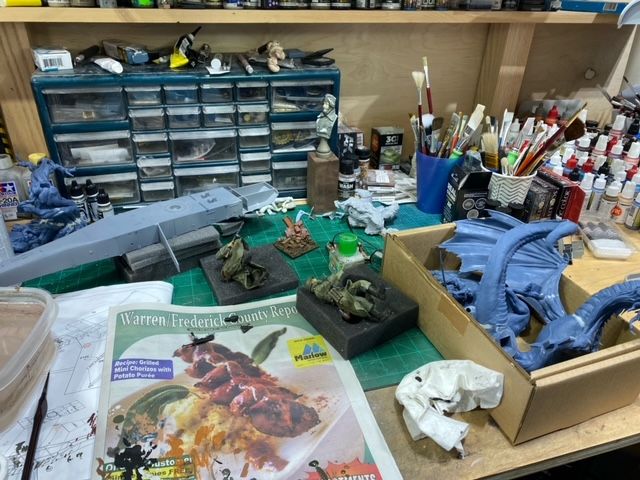
Are you building??!! Here is a shot of my desk. There are 2 German soldiers and their bases about to be finished; a German POW bust that just needs a metal name placard to top it off; a dragon and its female warrior master; a mythical prophet of doom on his horse; and the “now-I-see-Randy is evil” for giving me the GIANT CH-54 helo to have ready by 2025 Nats (I swear I will get even with that guy!).
So let’s go you procrastinators and never-doers! Finish your builds and show them off at a meeting. We can’t have Jeff Muir outbuild us all!
-Chris
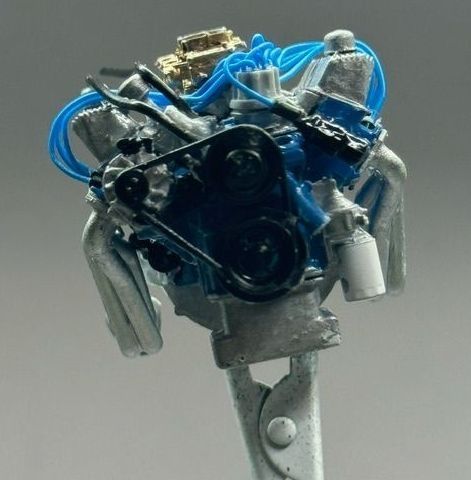
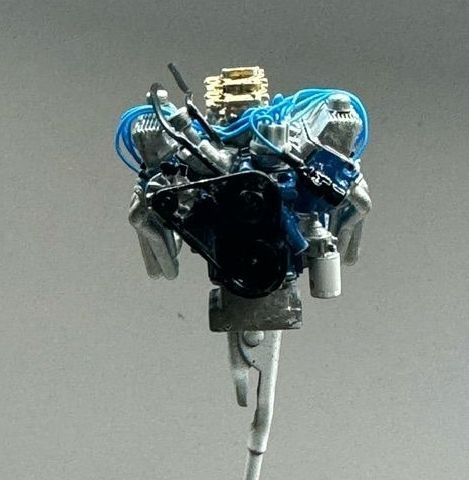
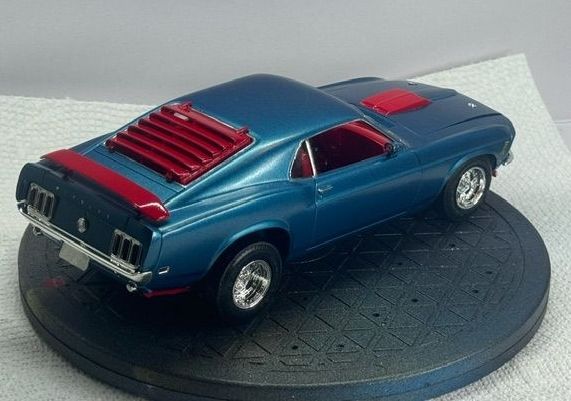
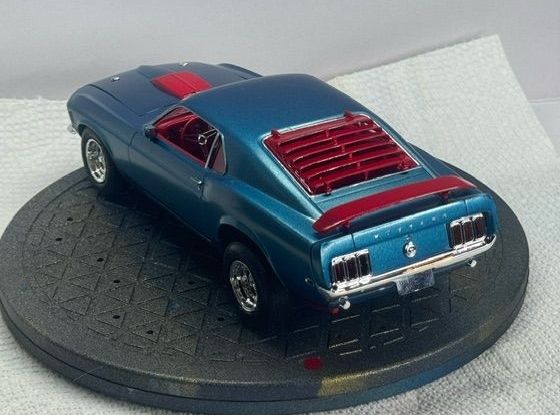
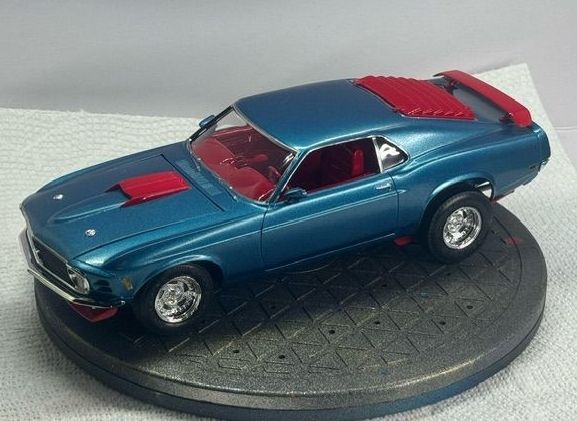
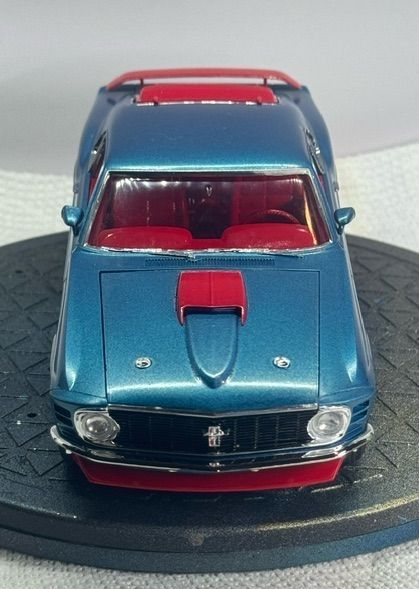
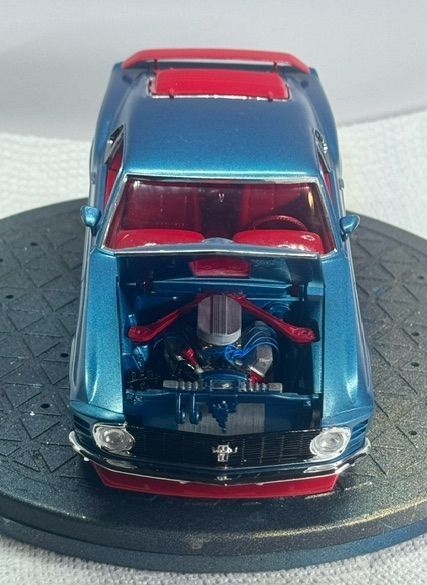
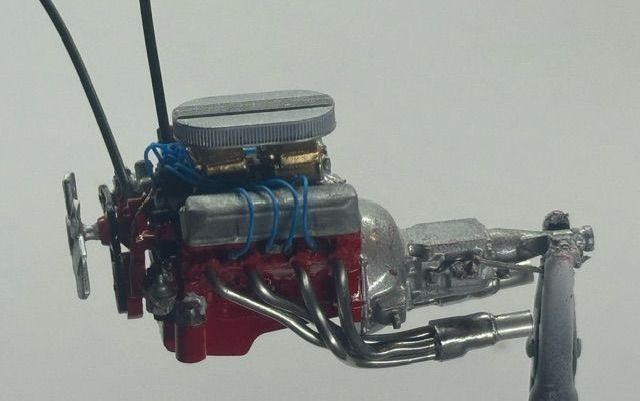
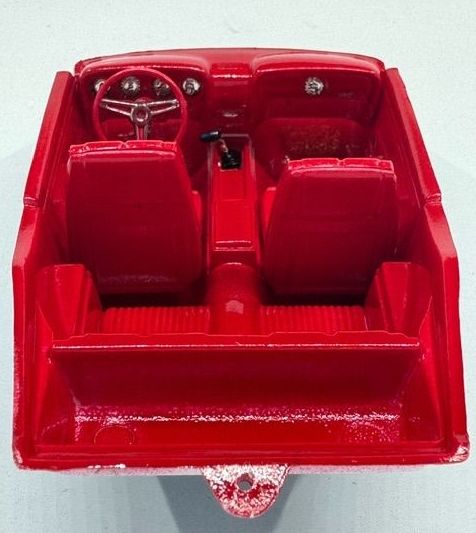
Well, build number 35 for the year is in the books. 1970 Mustang with a fuel quad 427 from Texas 3d customs. I really do like his stuff. Very well detailed. I wired and plumbed it. Made the headers out of solder, small piece of aluminum tubing and some shrink wrap. Wheels and tires are from a 2n1 1970 Buick GSX. Not your typical paint scheme, but I like it.
– Jeff


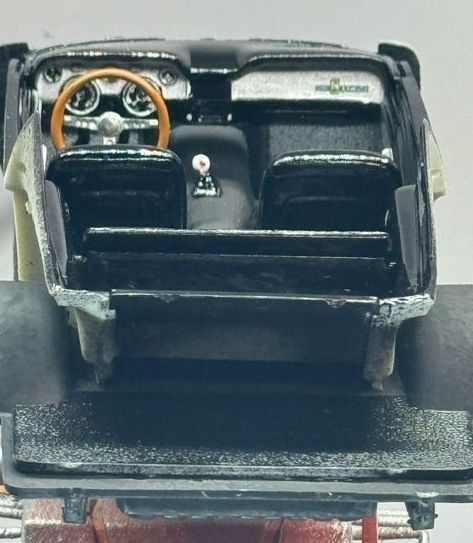
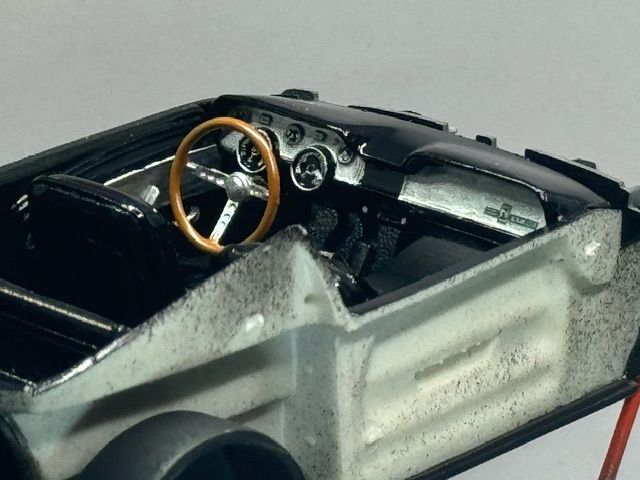
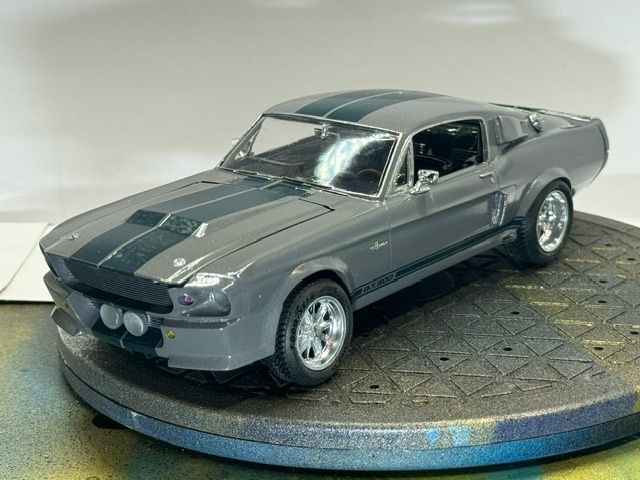
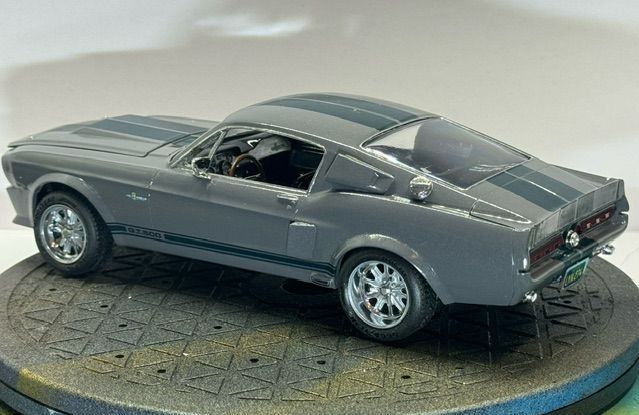
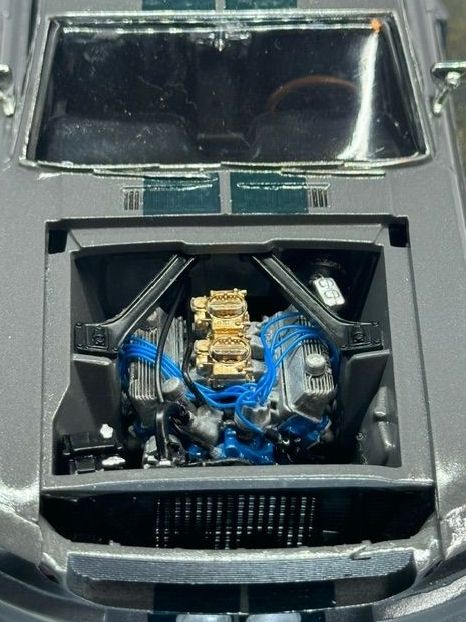
So I got this transmit from Texas 3d customs a while got. It takes the AMT 67 Shelby GT350 and turns it into the GT500 Eleanor from the remake of Gone in 60 Seconds. The kit included a new nose piece, wheel flairs and rocker panels to transform the body. Also included the correct wheels and tires and the all important 428 Cobra Jet engine. I detailed it with ignition wires and heater hoses. The clear messed up the decals, but otherwise a dune and challenging built.
Jeff