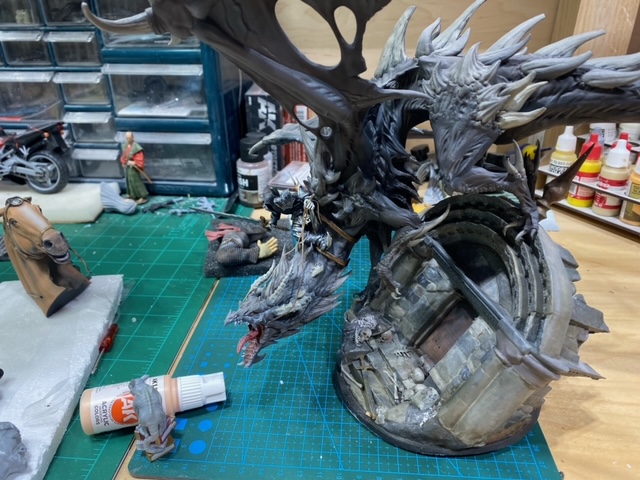
It took me a long time to figure how to mount the dragon to the castle base but I (hope) I got it. I drilled a hole in the monster’s back right foot and inserted a mounted metal pin then matched that up with a spot on the castle to drill a matching hole. The pin was superglued in place and the front right foot got a little dab of super glue to prevent the dragon from “swinging on its anchor” (how’s that for nautical reference from a Navy guy!).
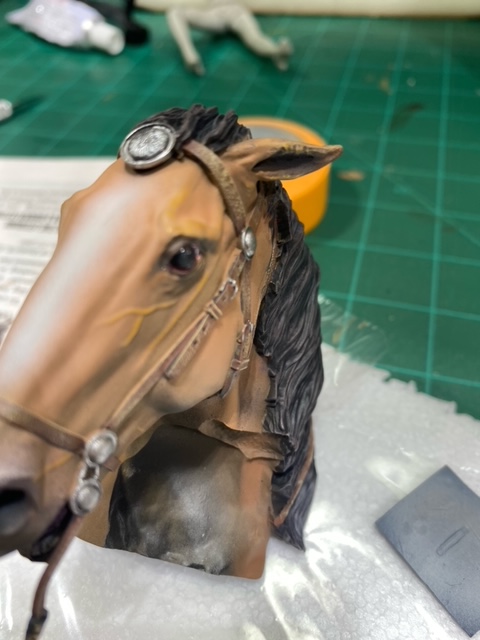
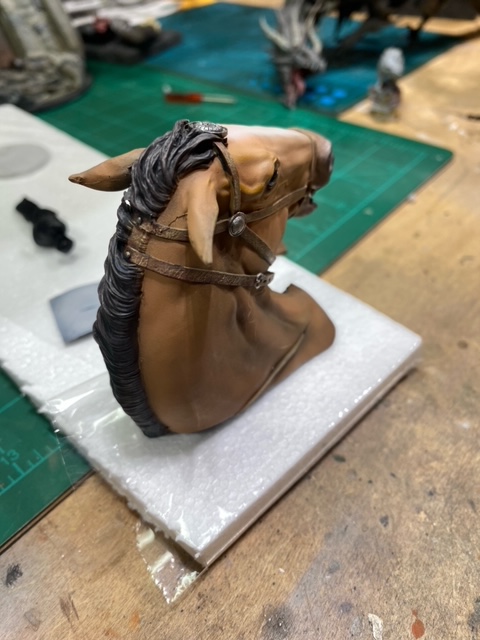
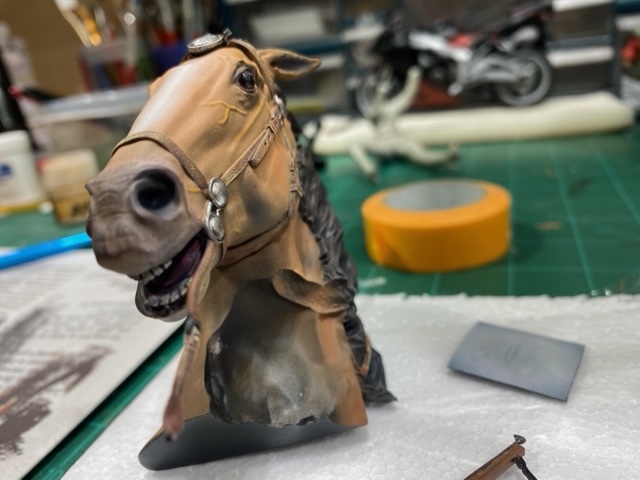
Hey gents. I have several figures in the que. One of them is Pegaso Models 200mm Knight Hospitaller bust that also includes the knight’s horse. The first picture is day 1 and the rest was done on day 2 of painting. I will finish the horse then do the knight. The base color of the horse was a blend of AK lacquer orange and earth red; highlights came from adding British sand yellow to the base. A coat of black was applied first to get shadow areas done. The reins/harness were done with acrylics.
Still not sure I’ll be able to stay for the entire show but I’m building as if I can. Trying to enter a handful of models, but still have some final details to finish on these two.
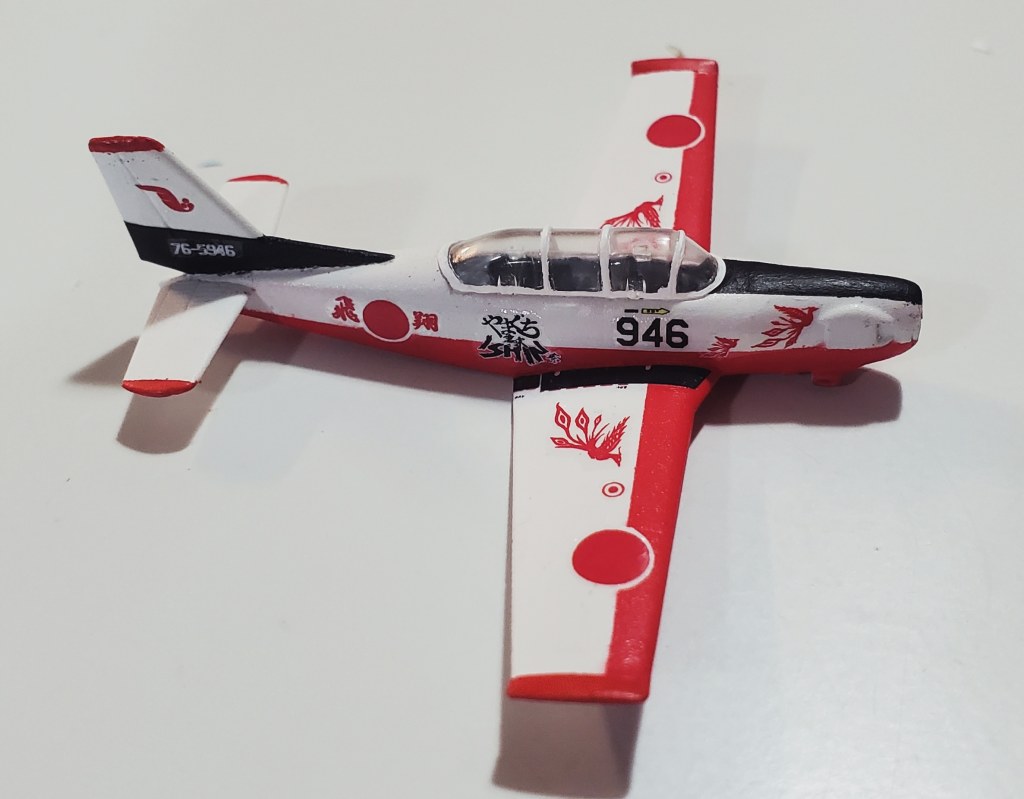
The first is a 1/144 Platz Beechcraft T-34 Mentor which I’ve converted into a Fuji T-7 of the JASDF. 3D printed parts, custom decals, etc. Just need to apply a final top coat, touch up some details, and attach the gear. Hoping to enter this in the Collections category along with 3 other T-34 kits and a Beech Bonanza. None are good enough to win I suspect, but they sure do look neat together.
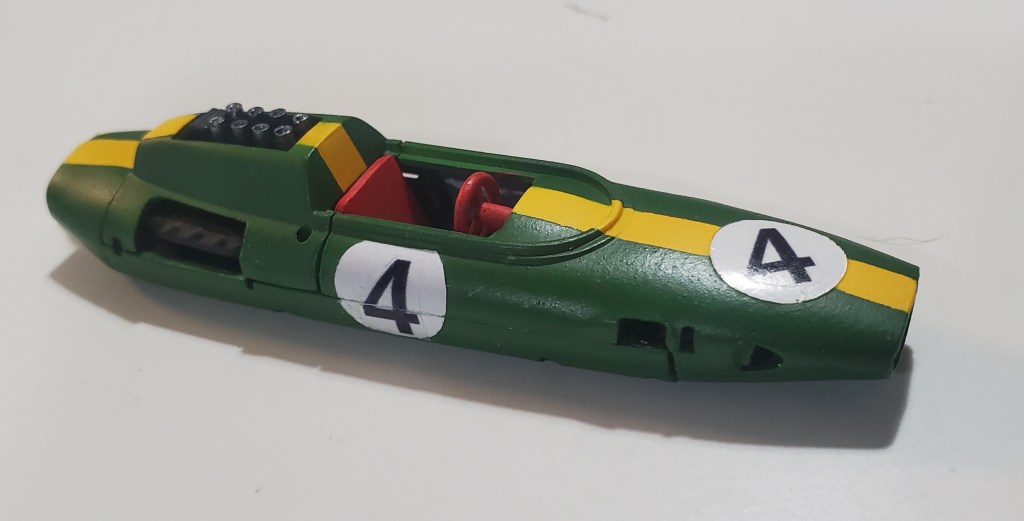
The other is the 1/48 Lotus I started on a few weeks ago. In the same condition as the T-7. Needs a top coat, details touched up, and the suspension parts attached (hopefully the Molotow chrome is dry – more discussion on this disaster of a process in the future).
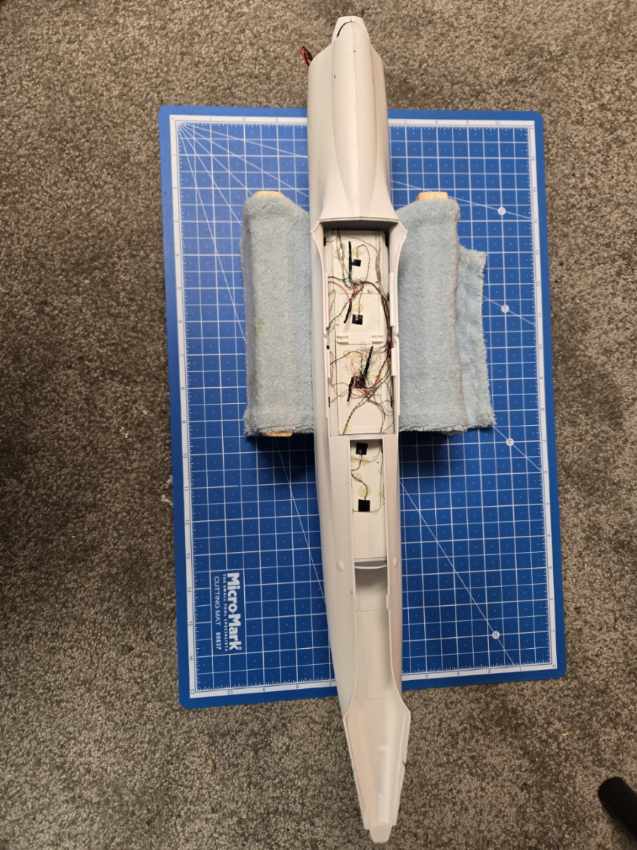
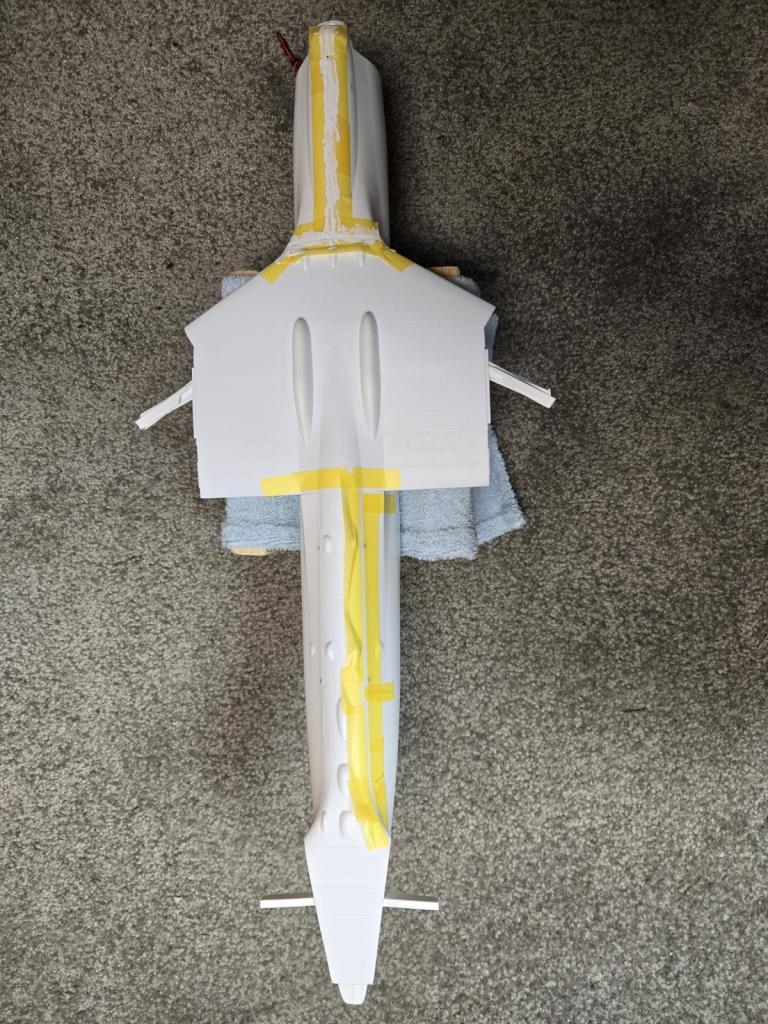
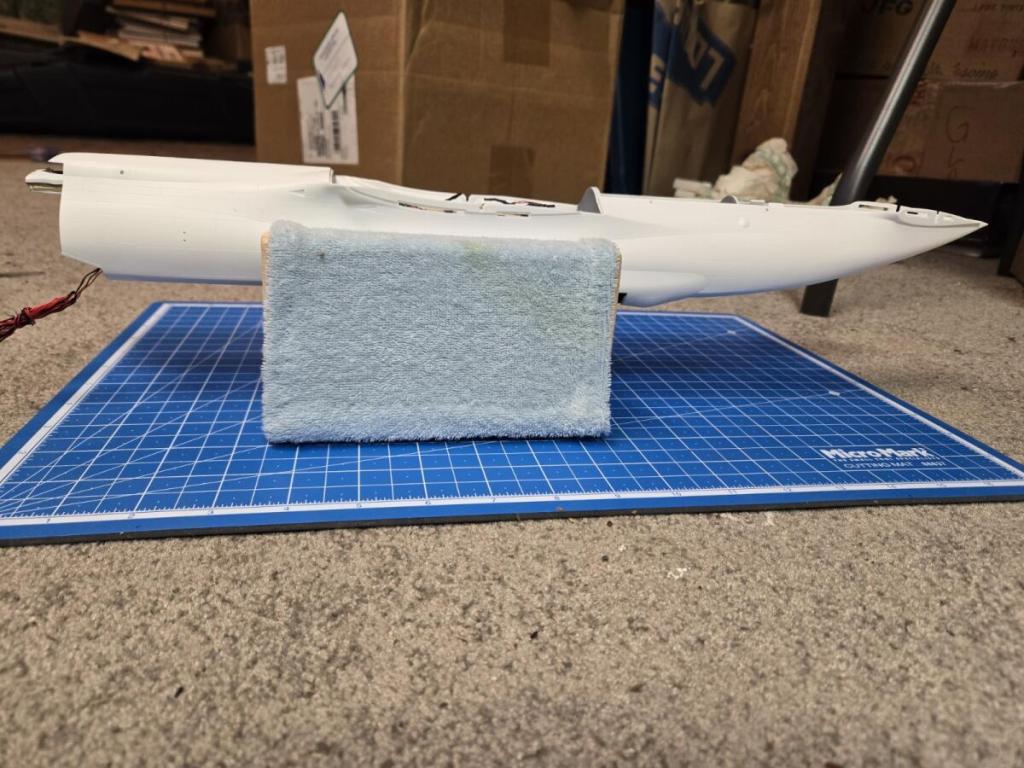
Here are a few pictures of the AN-225 getting back under way. Two of them are looking at the start of the fuselage assembly with one last look at the wiring before it gets closed up. One of what I am calling a bouquet of tires, all 32 of them. They are actually painted now with the wheels about ready for painting. The last one is the start of the filling and sanding due to a less than stellar fit of the fuselage parts.
– Tom
(Tom sent this to me on 3/21 and I typed up the post but forgot to publish it until today – Chad)
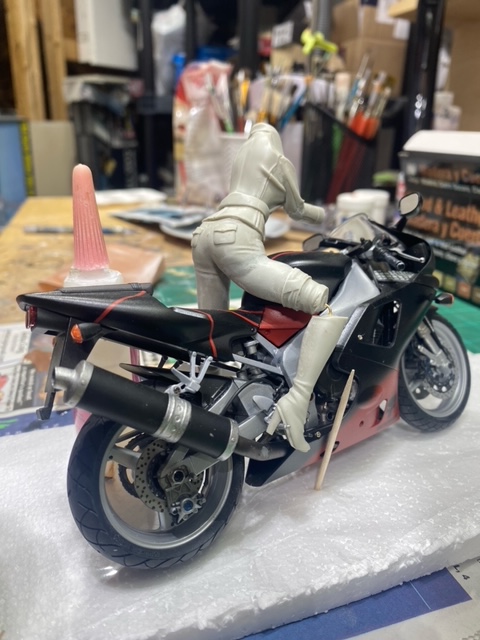
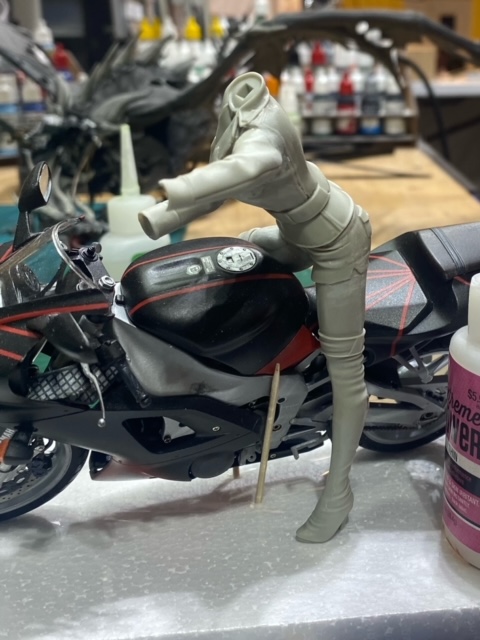
Okay gents here is a quick update to the assassin babe bike rider. I have re-attached her right upper leg to the torso and her arms are on. I put her right lower leg on and super glued it to the attachment wire while she is on the bike to ensure her legs fit to the bike. Still have a lot of MagicSculpt to go to get her in shape for a coat of primer to see where the defects may be and do some “plastic surgery” (no pun intended) to finalize her reformation prior to painting.
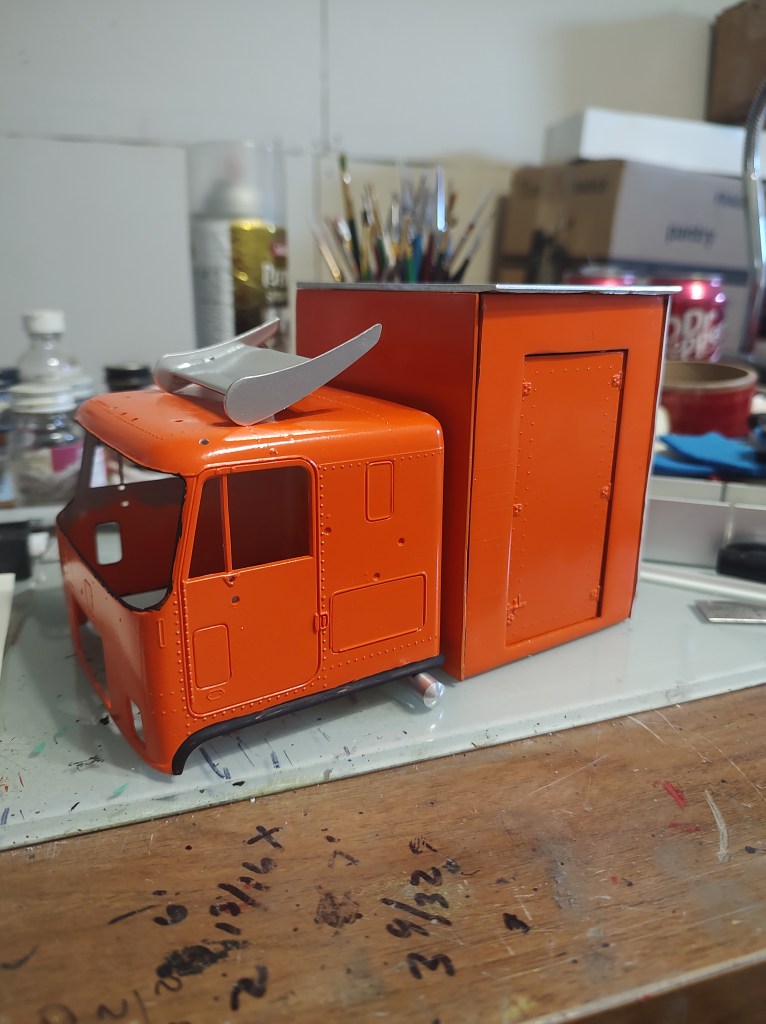
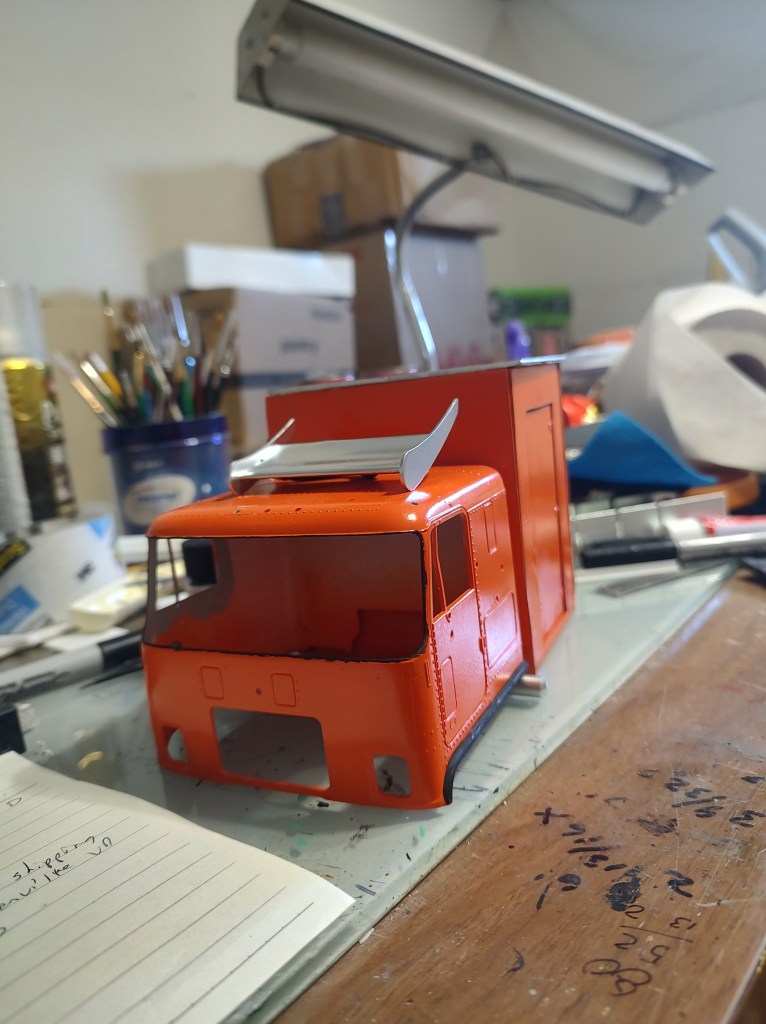
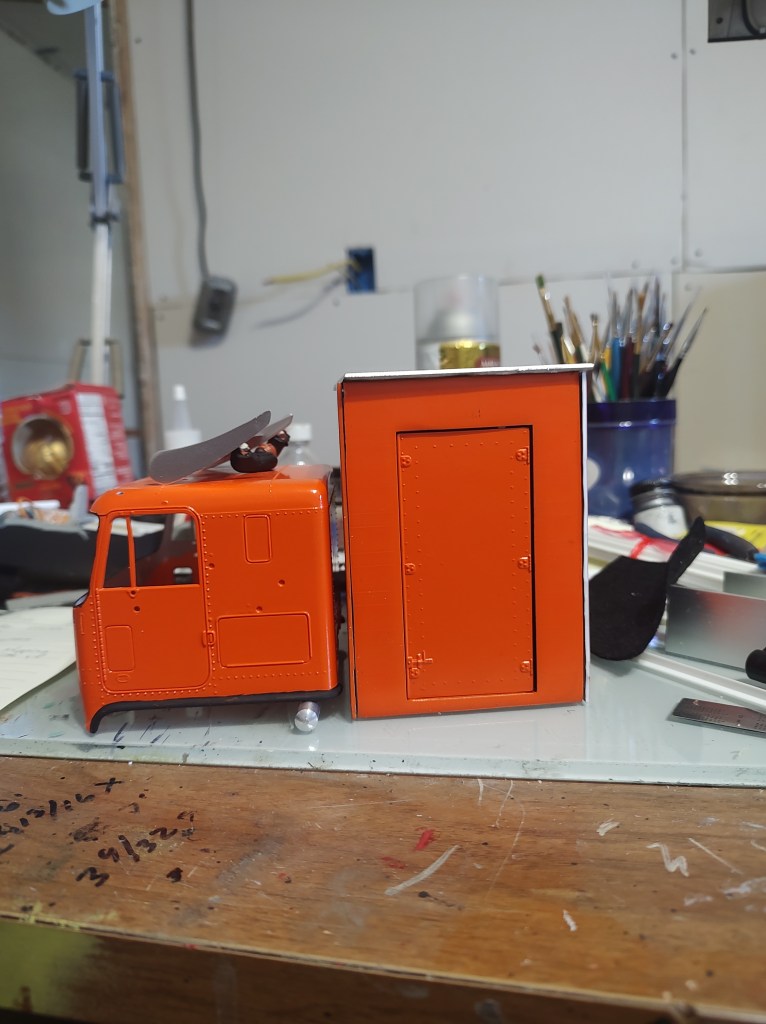
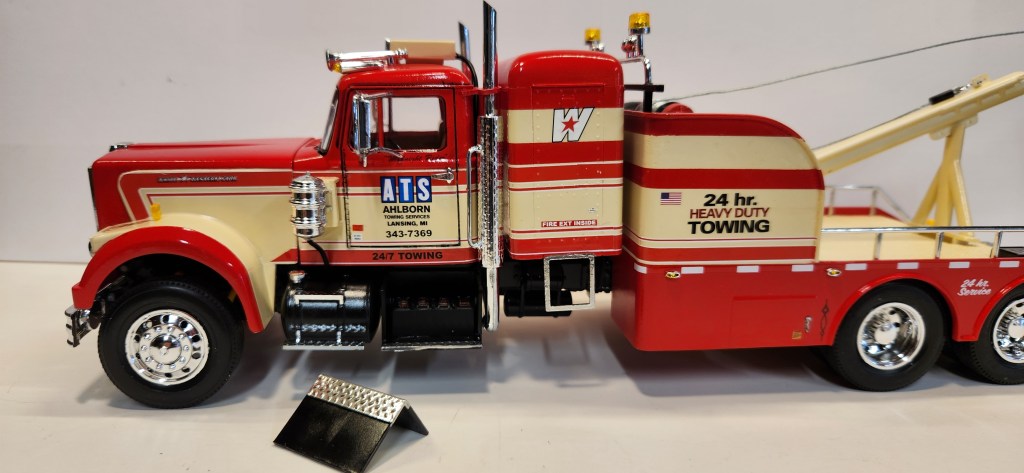
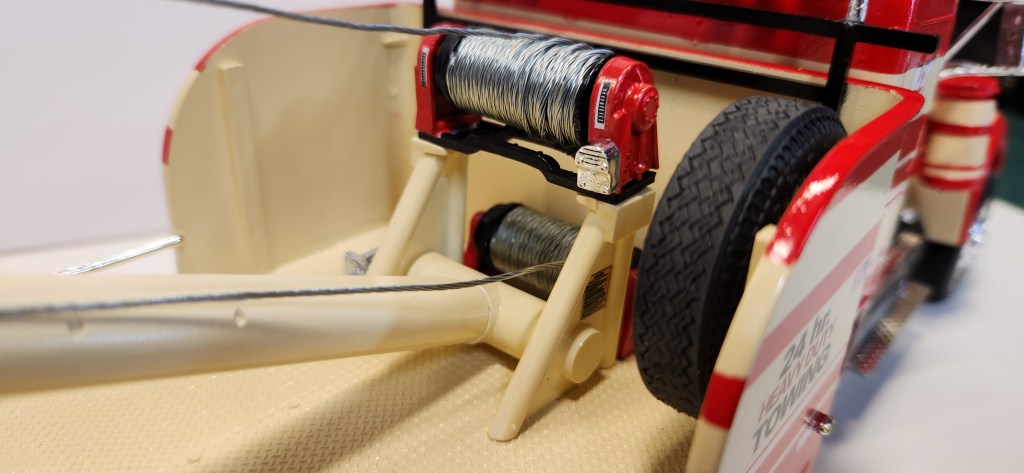
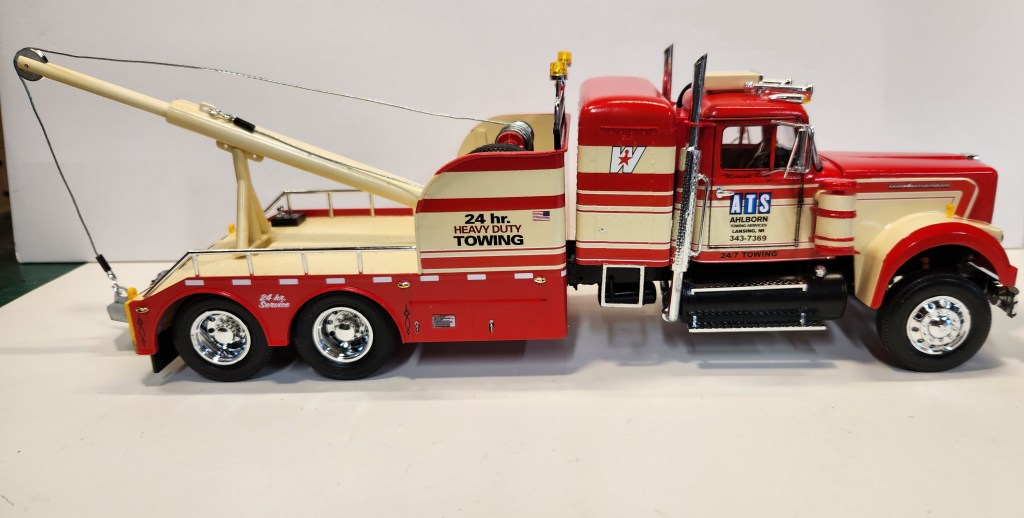
I took a White Western Star tractor and converted it to a Big Stick wrecker.
I used the Western Star chasis and stretched the frame 2.5 inches to accommodate the wrecker bed and pirated Kenworth single sleeper bunk. I used Moebius wheels and tires instead of the stock spider wheels. The paint is Model Master enamel Guards Red and Light Ivory. The exhaust was used from the AMT Peterbilt wrecker kit, along with the cab running lights and air horns. The steel cable on the Big Stick wrecker is thin picture framing wire.
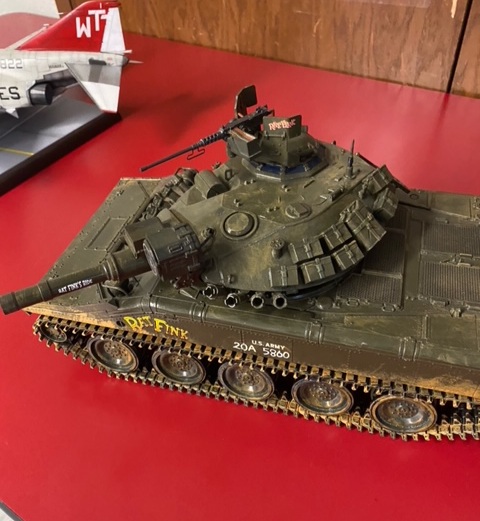
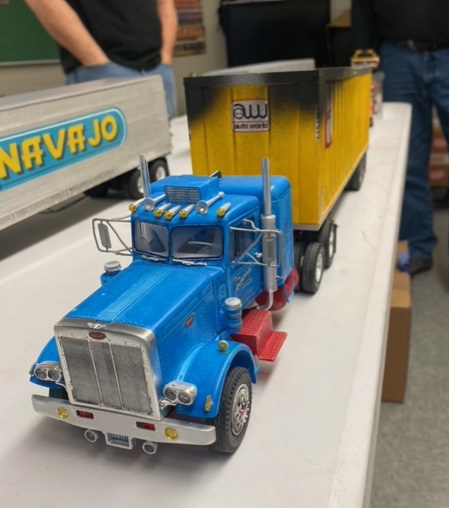
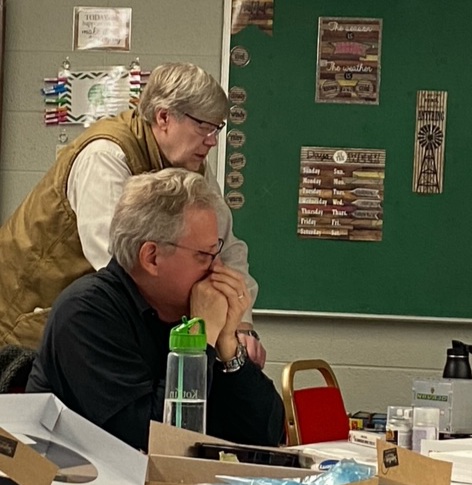
Good day gents. The April meeting was well attended with 17 members being present. The models on the table were nicely varied-from trucks, tanks, a jet, a boat, and several figures. John, our long term honorary member, became an actual member at the meeting so an official welcome to him. He brought a 1/32 F-4 Phantom that was a true masterpiece.
Randy talked about his great wins at the Myrtle Beach show in a neat category -the triathlon. Mark talked about some shows he attended with noted smaller amounts of entries. That was a bit concerning.
Ross did not make the meeting and successfully avoided his public speaking gig on decals but Scott stepped up and did a superb primer on decal placement. Ross, you owe us all donuts or cookies for the next meeting.
Best of luck to our members going to NOVA 13 April- make us proud and bring us gold (no pressure!).
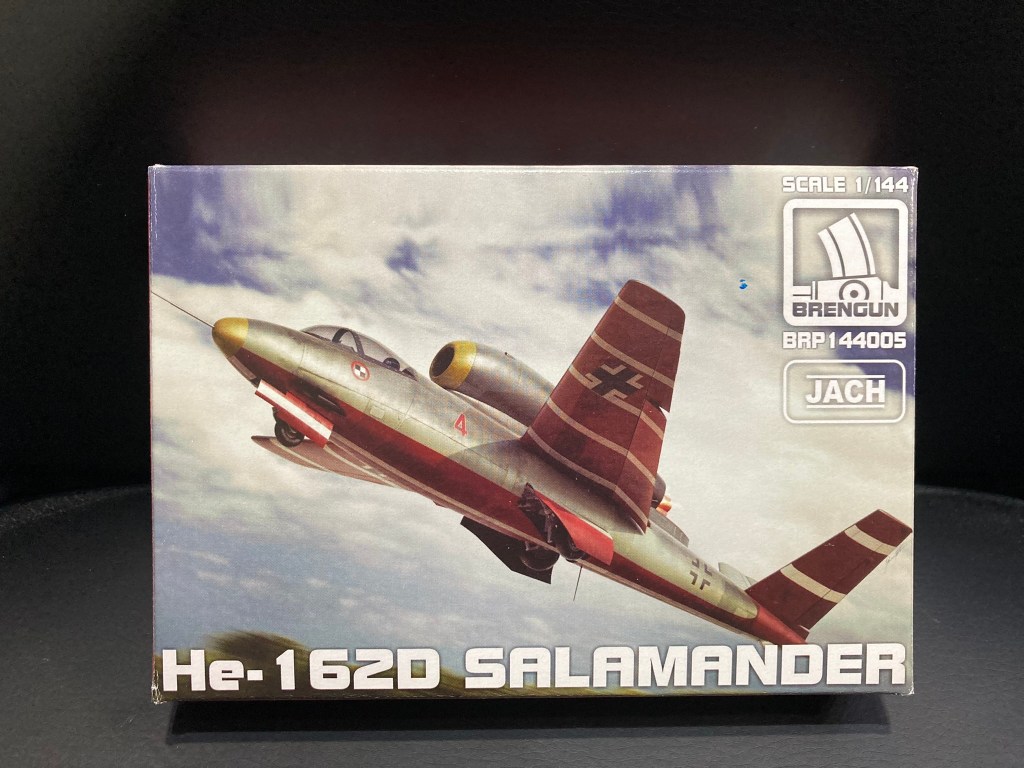
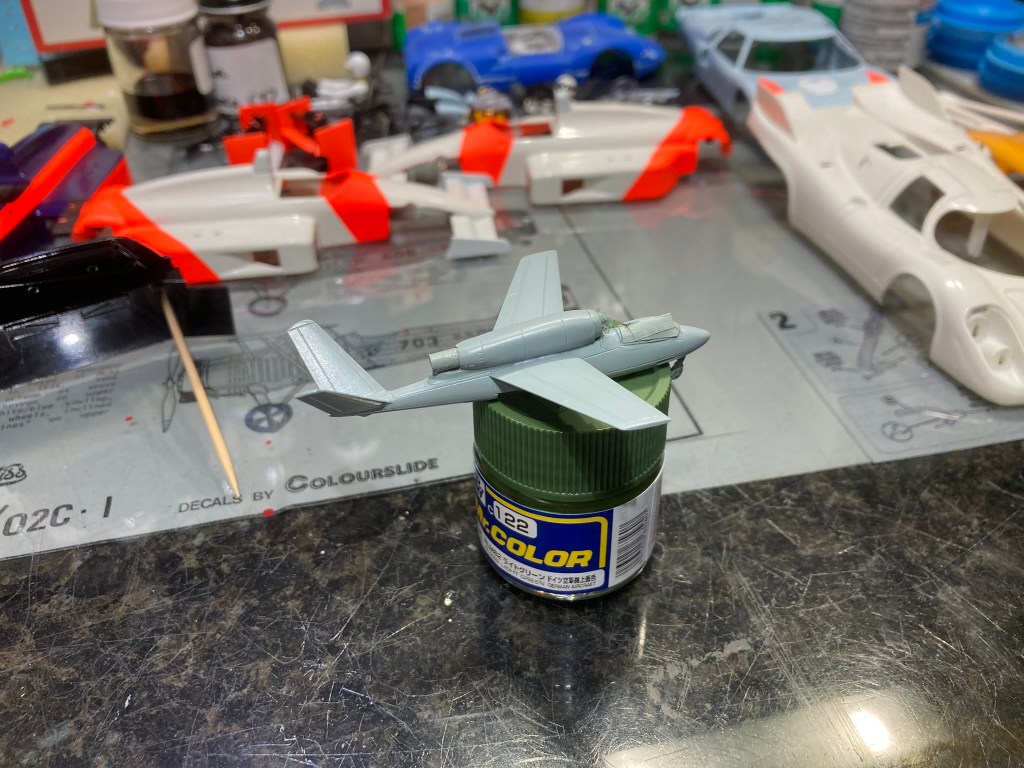
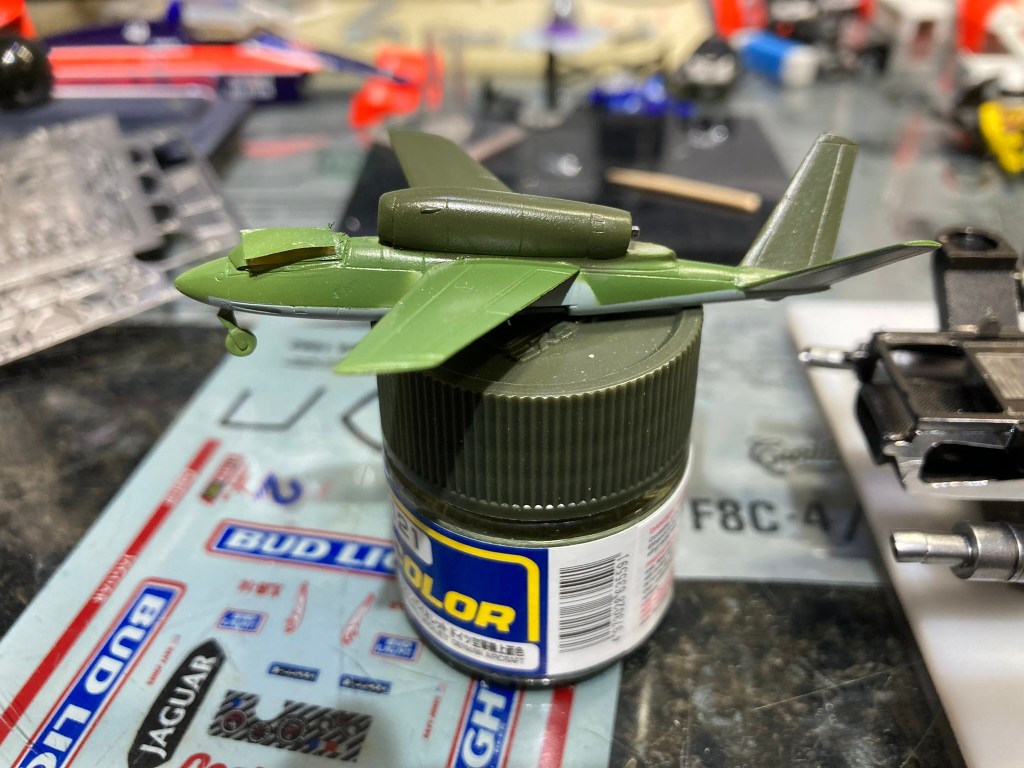
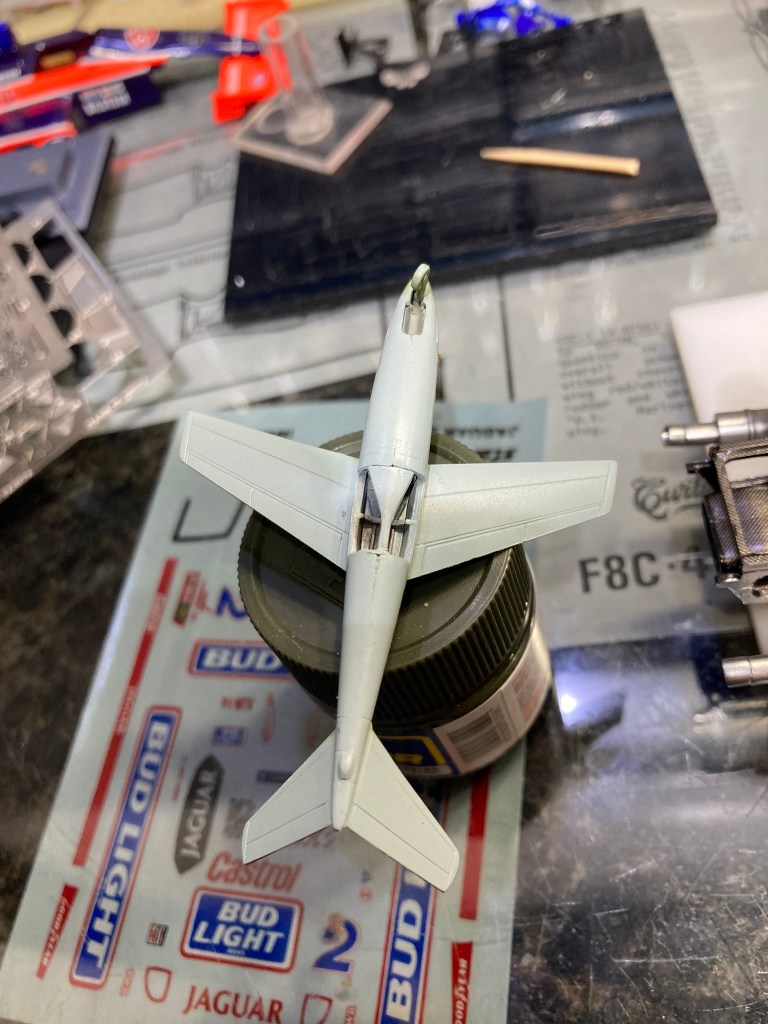
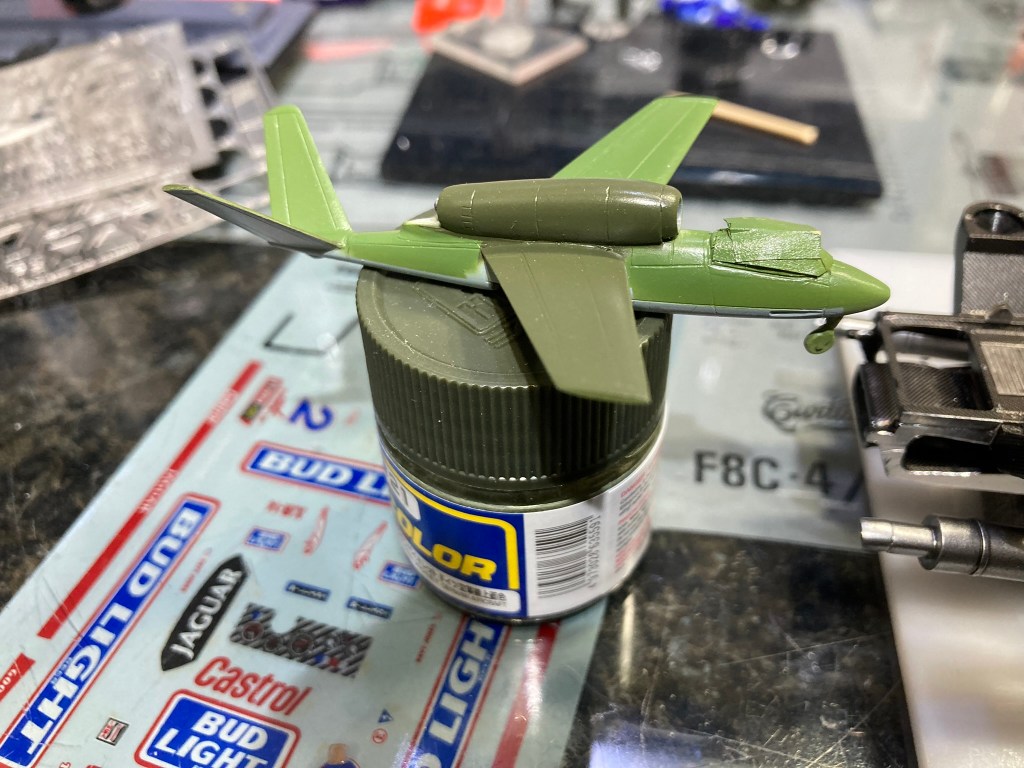
One of the many Plastic Model Clubs I am an active member of is an informal group that meets (almost) monthly in near Purcelville, VA. Been meeting with this group of guys for more than 20 years. Every year we pick a “Build the same kit” subject. For 2023 it was “Any German Jet from WWII (including Luftwaffe 1946 aircraft)”. As I know my time is more limited than ever, I picked one of the several 1/144 Luftwaffe kits I had in my stash. The Brengun He 162D. This was a version that had swept forward wings and a “V” tail. It was never built or flown, so a Luftwaffe 1946 subject.
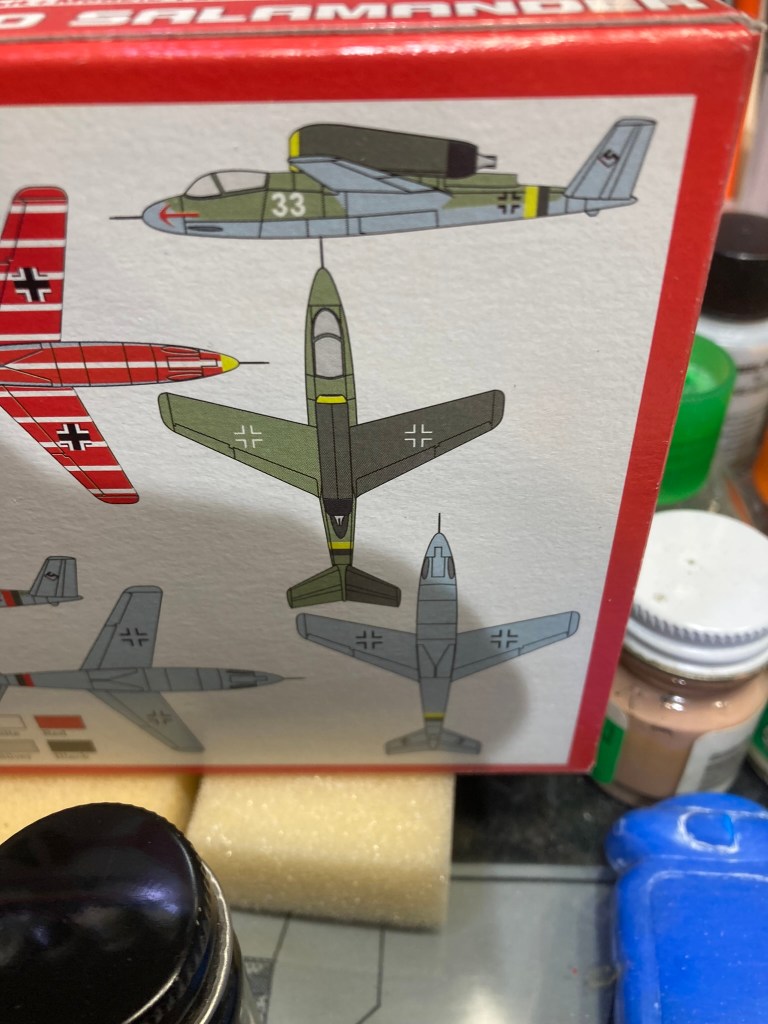
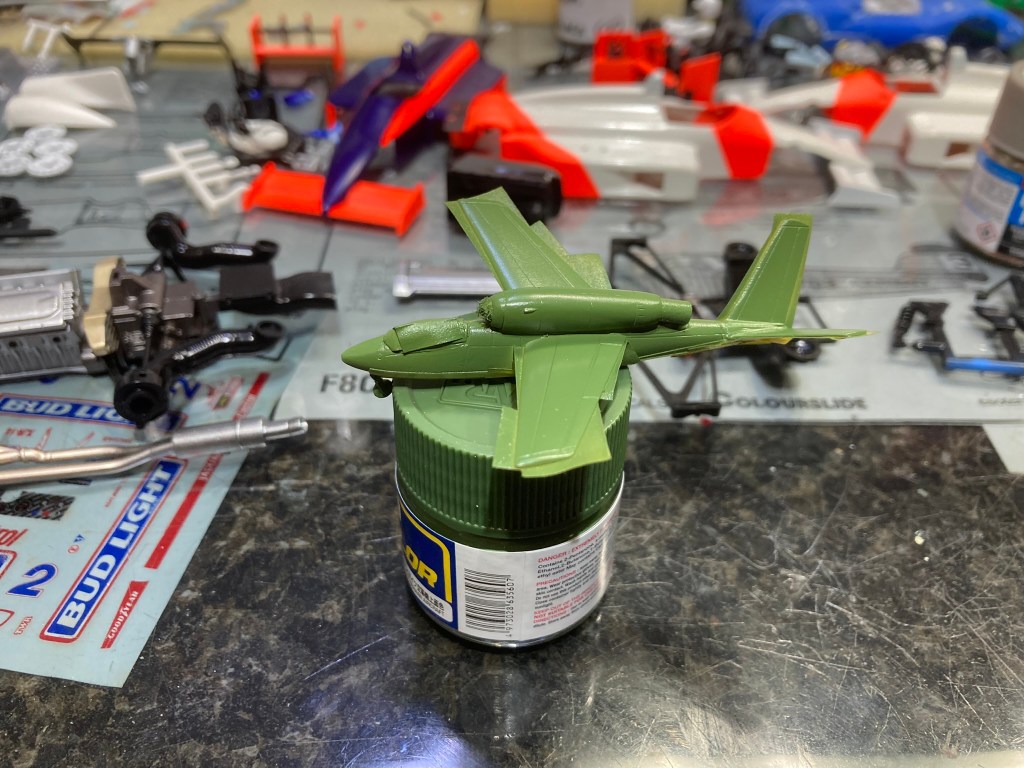
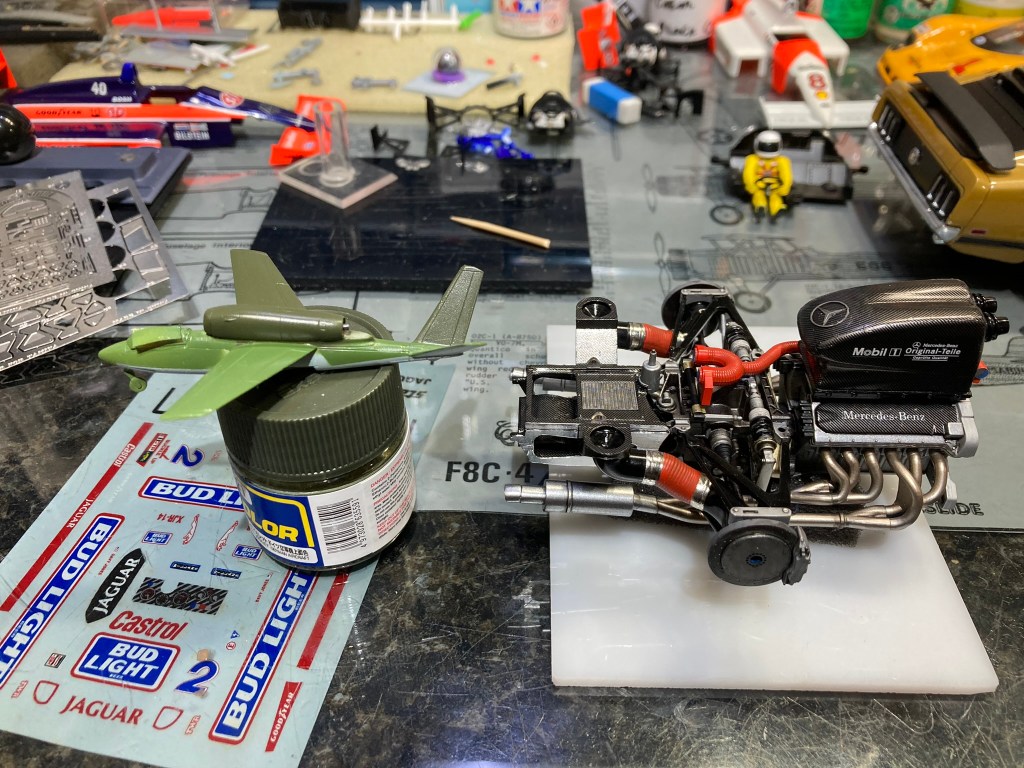
The kit is very basic. It does have a cockpit and wheel wells. I behaved myself and set out to build it OOB. Most of the year I was able to dabble a bit here and there, always missing the color I needed to paint, so that slowed me down. I used Mr Color Exclusively on this build, except the Polly Scale “wood” color for inside the Engine Nacelle and Tamiya LP-30 sliver for the Intake Spike. This paint is so thin when you spray it you get the coverage you want in 1/144 and doesn’t obliterate the details that you get with Testors or Vallejo paints (YMMV). The fit is rather bad. Parts can be too short, too long, or too large. Lots of test fitting and using styrene shims for a proper fit.
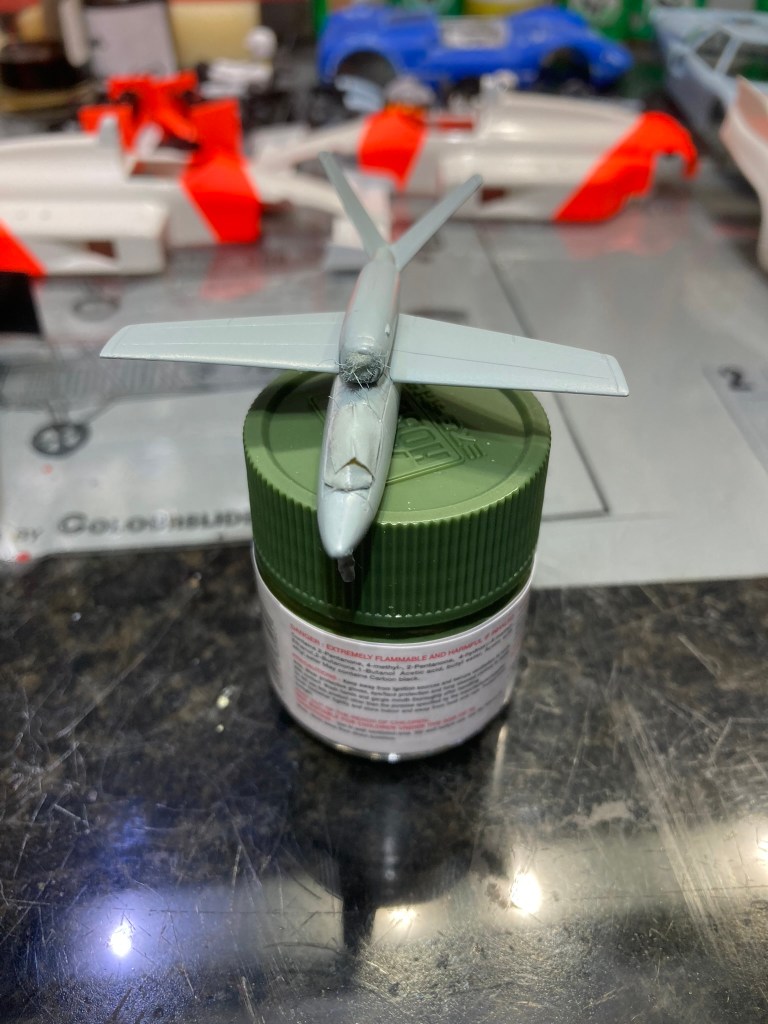
Right now, I have the exterior painting done and ready for decals. I picked the RLM 81/82/78 scheme to stay away from the feathering and mottle finish of the others. I know my limits and my sanity well enough to stay away from that.
I included some picture of my build progress and one to compare the size vs the Mercedes CLK GTR engine that has had most of my attention of late and a link about the He 162.