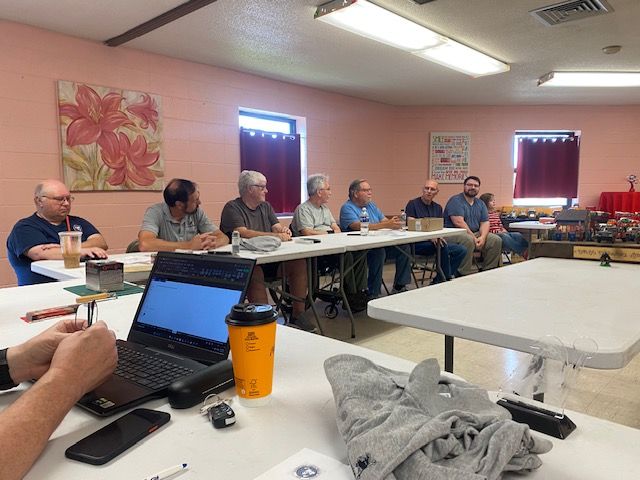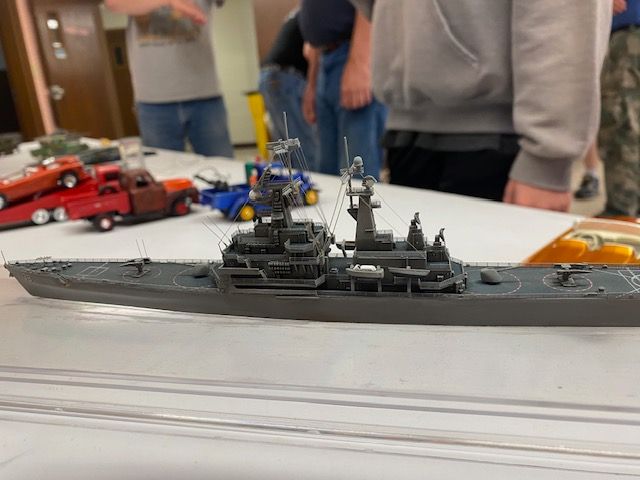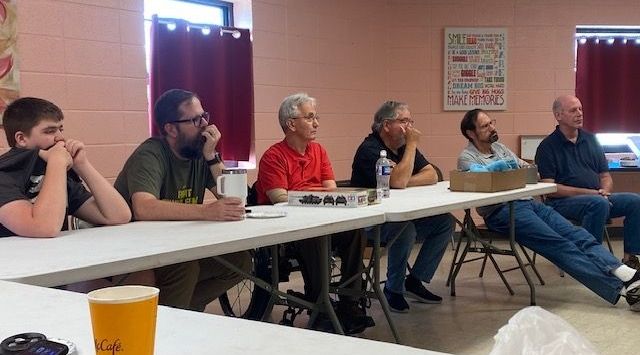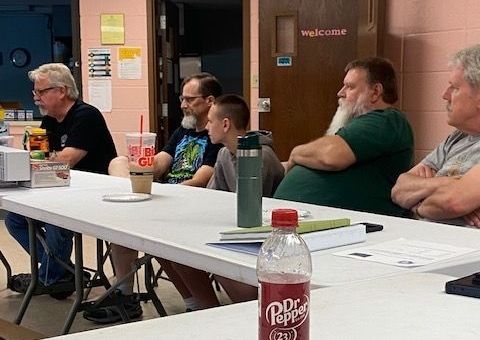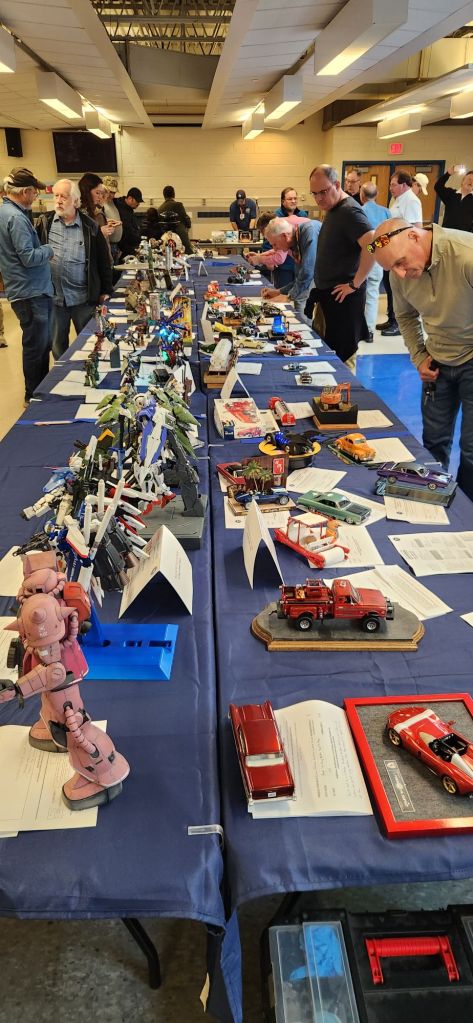
Good day gents. The August meeting went very well with 24 folks in attendance. Every one say hi to our new member Coby! Coby brought a super sharp US WW2 destroyer to show. Welcome to the Ravenhood Coby.
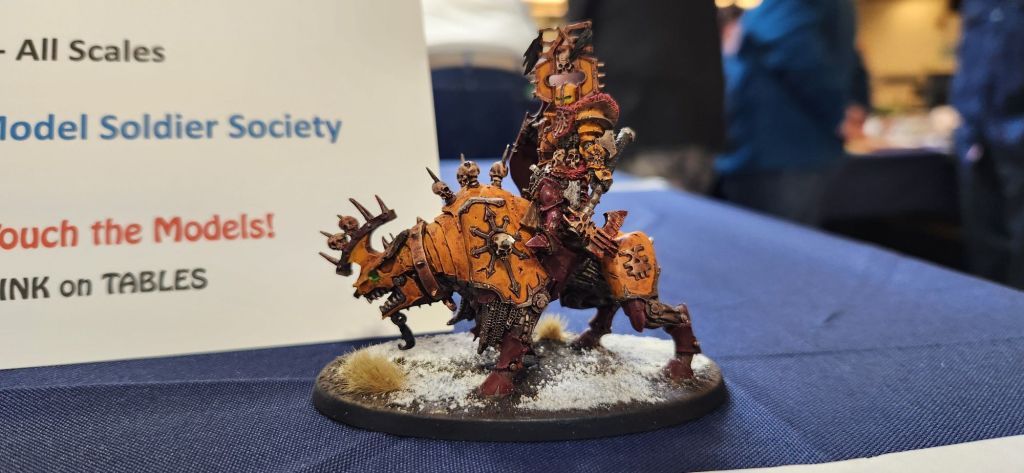
We had several other guests attend and I am sure we made a good impression and they will join the chapter at the next meeting. It is so great to see the chapter continue to grow and to add to the talent pool – especially with Warhammer subjects!
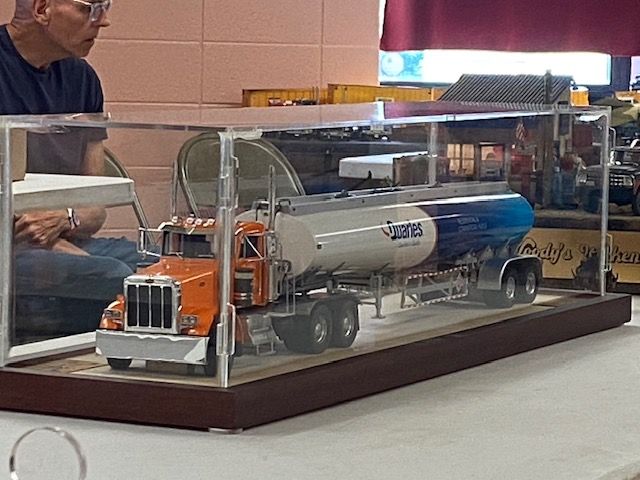
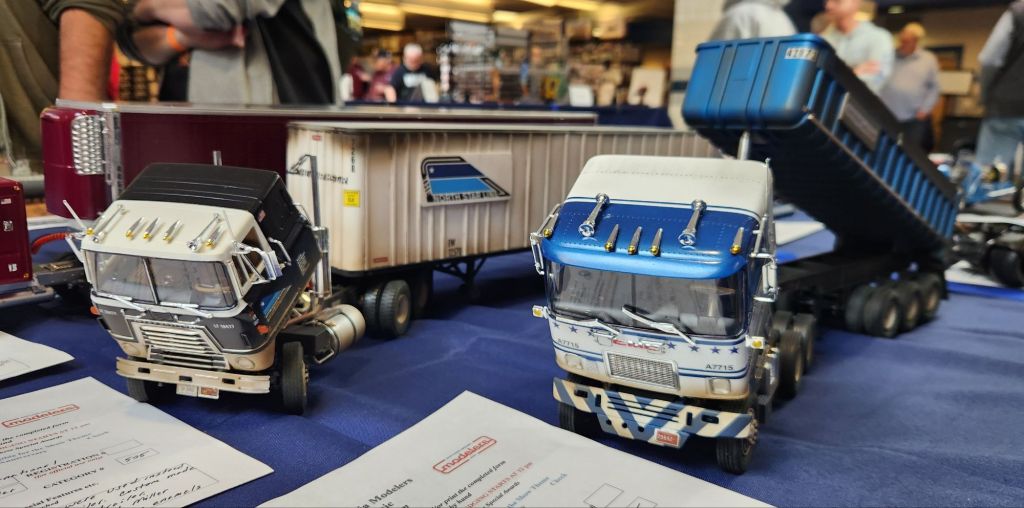
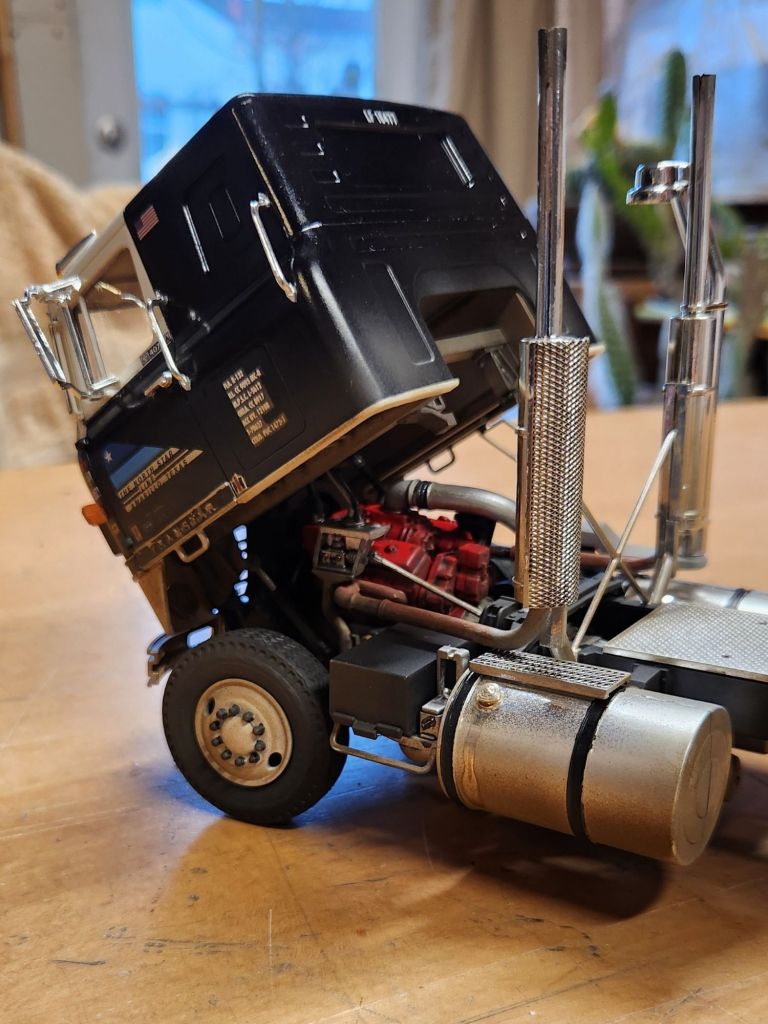
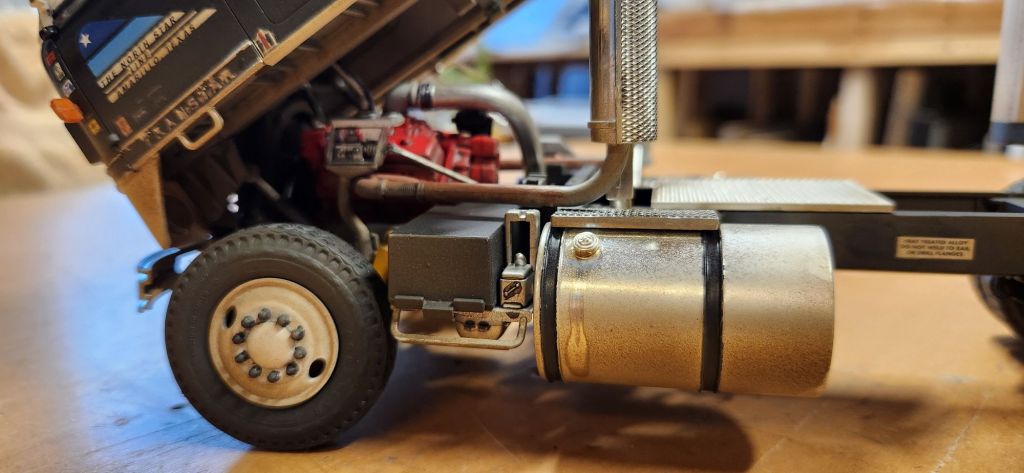
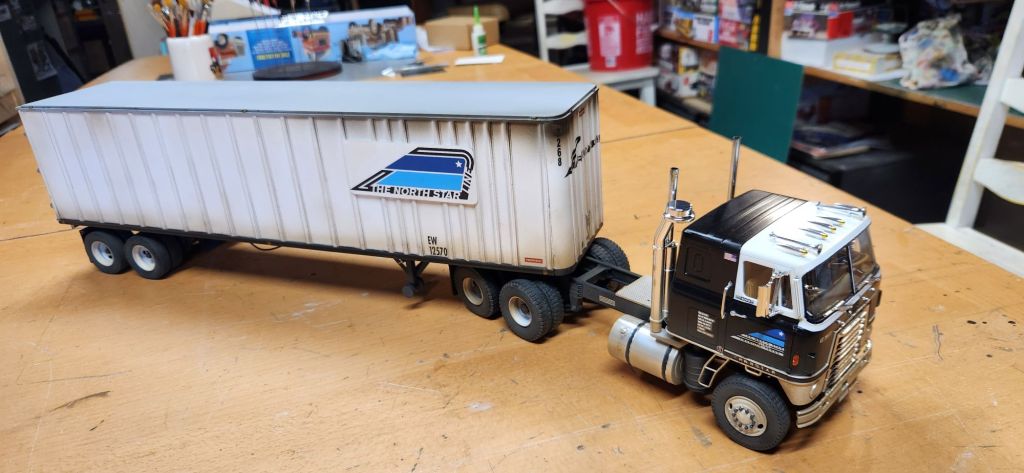
It was great seeing John attend-he brought a stunning Quarles truck that he intends to take to Nats. Good luck John! Equally great was Ross being there and seeing his car carrier with luxury sports cars on it. That will be at the PennCon show in September. Good luck Ross!
Tom Lacy is our project manager for Ravencon 2026. He will be recruiting members to help with the show so raise your hand to help out when he reaches out to you. Club members can compete in Ravencon but members can only enter one subject per category. Lets be gracious hosts!
September is the auction month so bring that kit you never will get to and are willing to have it be sold to raise funds for the club. Randy’s never-used 3D printer will be raffled. The model theme for September are The Big Wars – so bring models of anything built from 1914-18 or 1939-45 civilian or military. Remember December is helicopter month and the best helo builder gets a cake! October is airbrush demo lessons and November Todd is giving an update fiber lighting demo.
Keep building!
Chris